If you have noticed cracks in your concrete surfaces, don’t panic – repairing them yourself can be easier than you might think. In this article, we will explain the basics of concrete cracks and guide you through a step-by-step process to repair them. We will also provide some tips to help you maintain your concrete surfaces in the future.
Understanding the Basics of Concrete and Cracks
Before we dive into the repair process, it’s helpful to understand some fundamentals about concrete and the common causes of cracks.
Concrete is a versatile, durable, and widely-used building material made from a mixture of cement, water, and aggregates such as sand and gravel. It hardens over time and becomes strong enough to provide a sturdy foundation for structures.
But what exactly makes concrete so durable? The secret lies in its composition. The cement acts as the binder, holding the mixture together, while the water activates a chemical reaction known as hydration. This reaction causes the cement to harden and bind the aggregates together, creating a solid and robust material.
However, despite its strength, concrete is not immune to cracks. Various factors can cause cracks to form, and it’s essential to be aware of them to prevent further damage.
Common Causes of Concrete Cracks
One of the most common causes of concrete cracks is shrinkage. As concrete dries, it undergoes natural shrinkage, which can lead to cracks. This shrinkage occurs due to the evaporation of excess water within the mixture, causing the concrete to contract and potentially crack.
Another factor that can contribute to cracks is settlement. If the ground beneath the concrete surface settles or shifts, it can cause the concrete to crack. This settlement can occur due to various reasons, such as changes in soil moisture content or the presence of underground voids.
In cold climates, freeze-thaw cycles can wreak havoc on concrete. When water seeps into the concrete and freezes, it expands, exerting pressure on the surrounding material. Over time, this expansion and contraction can result in cracks, compromising the integrity of the concrete.
Furthermore, overloading the concrete can also lead to cracks. Excessive weight or pressure on the concrete, whether from heavy machinery or excessive loads, can cause it to crack under the strain. It’s crucial to ensure that the concrete is designed and reinforced to withstand the expected loads to prevent such cracks from forming.
Now that we have a better understanding of concrete and its common causes of cracks, let’s move on to the tools and materials you’ll need for the repair process.
Tools and Materials Needed for Concrete Crack Repair
Essential Tools for the Job
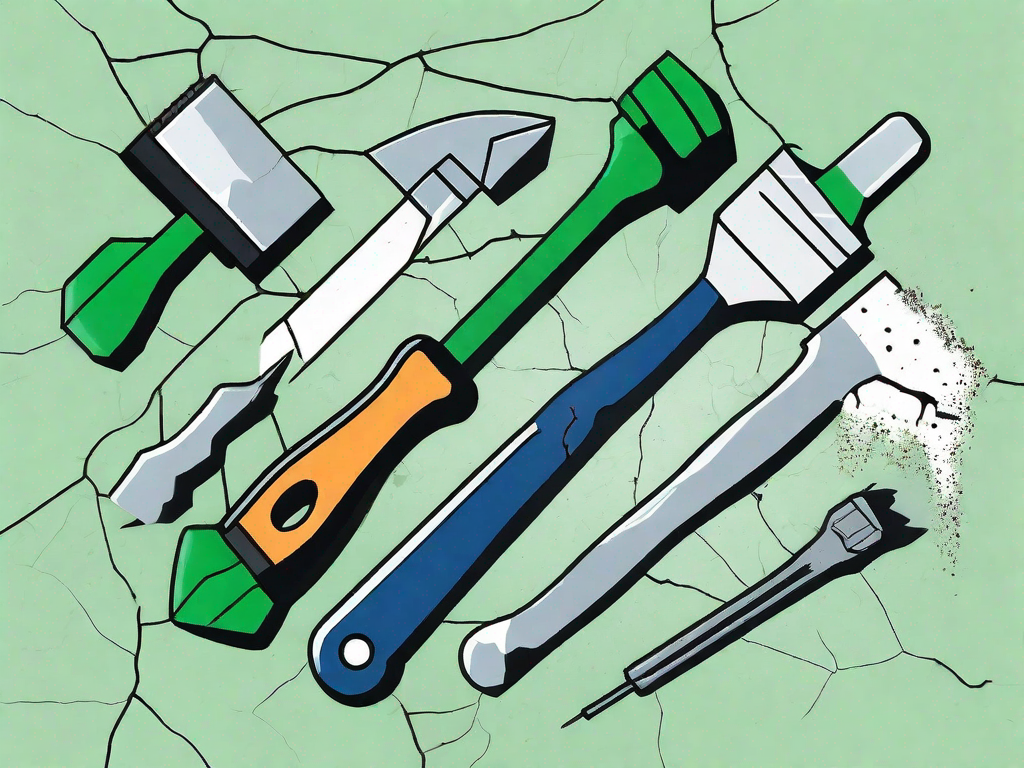
Here are some tools that will come in handy when repairing concrete cracks:
- Safety goggles and gloves
- Chisel or screwdriver
- Wire brush
- Trowel
- Caulking gun
- Putty knife
- Wire mesh (for larger cracks)
Choosing the Right Repair Materials
The choice of repair materials depends on the size and severity of the cracks. Some common repair materials include:
- Concrete crack sealants: Ideal for hairline cracks or small gaps.
- Epoxy injection systems: Suitable for wider cracks and ensuring a stronger bond.
- Concrete patching compounds: Effective for larger cracks that require filling and smoothing.
Now that you have gathered the necessary tools and materials, it’s essential to consider some safety precautions before starting the repair process.
Safety Precautions to Consider Before Starting
Protective Gear to Use
Your safety should always come first. Make sure to wear the following protective gear:
- Safety goggles
- Protective gloves
- Dust mask
- Appropriate footwear
Safe Handling of Repair Materials
When working with repair materials, always read the instructions carefully. Some products may require ventilation or specific mixing ratios. Follow the manufacturer’s guidelines to ensure a safe and effective repair process.
Step-by-Step Guide to Repairing Concrete Cracks
Now that you’re equipped with the necessary knowledge and precautions, let’s dive into the step-by-step process of repairing concrete cracks:
Step 1: Preparing the Cracked Area
Start by cleaning the crack using a wire brush or a chisel to remove any loose debris or concrete particles. Use a hose or pressure washer to thoroughly clean the crack and surrounding area. Let it dry completely before proceeding.
Step 2: Applying the Repair Material
If you’re using a concrete crack sealant, carefully follow the instructions on the product packaging. Using a caulk gun, squeeze the sealant into the crack, ensuring it fills the entire void. Smooth the surface with a putty knife and allow it to dry according to the manufacturer’s recommendations.
If you’re using an epoxy injection system or concrete patching compound, refer to the product instructions for the specific application process. These materials usually involve mixing components and filling the crack using a trowel or putty knife.
Step 3: Finishing and Curing the Repaired Area
After applying the repair material, smooth the surface with a trowel to match the surrounding area. If necessary, use a wire mesh or reinforcement material for added strength and support. Allow the repair to cure completely, following the recommended curing time provided by the manufacturer.
Tips for Maintaining Concrete Surfaces
Once the cracks are repaired, it’s crucial to maintain your concrete surfaces to prevent future damage. Here are some tips for keeping your concrete in good condition:
Regular Inspection and Early Detection
Periodically inspect your concrete for new cracks or signs of deterioration. Early detection allows you to address minor issues before they become major problems.
Preventive Measures to Avoid Cracks
Take preventive measures to minimize the risk of cracks in your concrete surfaces:
- Apply a concrete sealer to protect against water penetration and freeze-thaw cycles.
- Ensure proper drainage to prevent water accumulation around the concrete.
- Avoid overloading or placing heavy objects directly on the concrete surface.
By following these maintenance tips, you can help prolong the lifespan of your concrete surfaces and minimize the need for future repairs.
Repairing cracks in concrete is a manageable DIY project that can save you time and money. Armed with the right tools, materials, and knowledge, you can tackle the task with confidence. Remember to prioritize safety, follow the manufacturer’s instructions, and stay diligent in maintaining your concrete surfaces. With proper care, your concrete will remain strong and intact for years to come.