One of the most common problems homeowners face is peeling paint on walls and ceilings. It not only looks unsightly but can also be a sign of underlying issues. In this article, we will explore the causes of peeling paint, the tools and materials you will need for paint repair, and provide you with a step-by-step guide to fixing peeling paint. We’ll also share some useful tips for preventing future paint peeling.
Understanding the Causes of Peeling Paint
Peeling paint can be a frustrating and unsightly problem that many homeowners face. While a fresh coat of paint can breathe new life into a space, it is essential to understand the causes of peeling paint to prevent future issues. Let’s explore some of the common reasons why paint may start to peel.
Moisture and Water Damage
One of the leading causes of peeling paint is moisture and water damage. When water seeps into the walls or ceilings, it can cause the paint to lose its adhesion and start peeling. This can be a result of various factors, including leaks, high humidity, and condensation.
Leaky pipes or roofs can introduce water into the structure, leading to damp walls or ceilings. Additionally, areas with high humidity, such as bathrooms or kitchens, can create a moist environment that weakens the paint’s bond. Condensation, especially in poorly ventilated spaces, can also contribute to the problem.
To prevent peeling paint due to moisture and water damage, it is essential to address the underlying issue before repainting. Fix any leaks, improve ventilation, and consider using moisture-resistant paint in areas prone to high humidity.
Poor Surface Preparation
Another common cause of peeling paint is inadequate surface preparation. If the surface is not properly cleaned, sanded, and primed before painting, the paint will not adhere properly and is more likely to peel.
Proper surface preparation involves removing any loose paint, cleaning the area thoroughly, and ensuring a smooth surface for the new paint to adhere to. Neglecting these steps can result in poor adhesion, causing the paint to peel or bubble over time.
It is important to note that different surfaces may require specific preparation techniques. For example, painting over glossy surfaces may require sanding to create a rougher texture for better paint adhesion. Taking the time to prepare the surface adequately can significantly improve the longevity of the paint job.
Quality of Paint Used
The quality of paint used also plays a significant role in paint peeling. Using low-quality or incompatible paint can lead to poor adhesion and paint failure over time.
When selecting paint, it is crucial to choose a high-quality product that is suitable for the specific surface you are painting. Different surfaces may require different types of paint, such as latex or oil-based. Using the wrong type of paint can result in peeling or cracking.
Investing in good paint may initially seem more expensive, but it can save you time and money in the long run. High-quality paint tends to have better adhesion properties, durability, and resistance to moisture, reducing the likelihood of peeling.
Understanding the causes of peeling paint can help you take the necessary precautions to prevent this issue in your home. By addressing moisture problems, properly preparing surfaces, and using high-quality paint, you can ensure a long-lasting and beautiful paint finish.
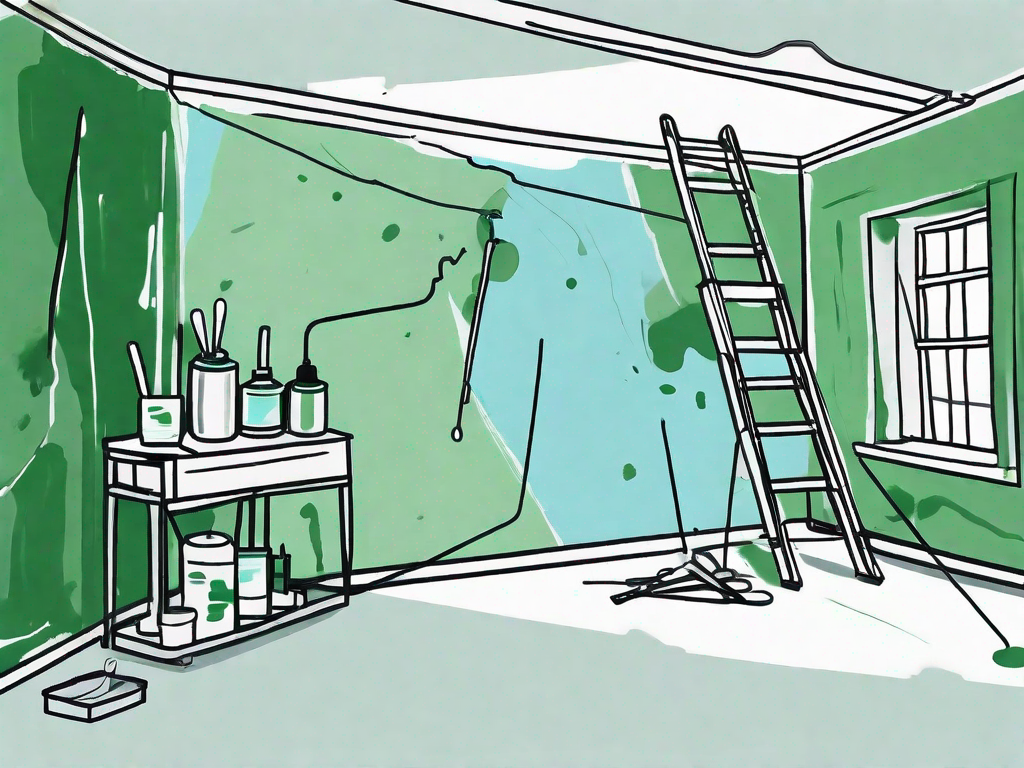
Tools and Materials Needed for Paint Repair
Safety Equipment
Before you begin any paint repair work, it is crucial to prioritize your safety. Make sure to wear safety goggles, gloves, and a dust mask to protect yourself from any potential hazards.
Paint Scrapers and Sandpaper
To remove the peeling paint, you will need a paint scraper and sandpaper. A paint scraper will help you gently scrape off the loose paint, while sandpaper will help smoothen the surface for the new paint to adhere to. Use a gentle sanding motion to avoid damaging the underlying surface.
Primer and Paint
Once the surface is prepared, you will need a high-quality primer and paint for the repair. The primer will ensure proper adhesion of the new paint and provide a protective base. Choose a paint color that matches the existing paint or opt for a fresh new look.
Step-by-Step Guide to Fixing Peeling Paint
Preparing the Area
Begin by preparing the area to be repaired. Cover the floor and furniture with drop cloths or plastic sheets to protect them from any paint splatters or debris. Remove any loose paint flakes with a paint scraper, taking care not to damage the surface underneath.
Removing the Peeling Paint
Next, use sandpaper to gently sand the edges around the peeling paint area. This will create a smooth transition between the old and new paint. Once the area is sanded, wipe away any dust with a damp cloth to ensure a clean surface.
Smoothing the Surface
If there are any uneven patches or rough spots, use a putty knife to apply a thin layer of spackling compound. Smooth it out and let it dry according to the manufacturer’s instructions. Once dry, sand the repaired area until it is smooth and blends seamlessly with the surrounding surface.
Applying the Primer
Before applying the paint, it is essential to prime the repaired area. Apply a thin and even coat of primer, using a paintbrush or roller. Allow the primer to dry completely before moving on to the next step.
Repainting the Surface
Now, it’s time to repaint the surface. Apply the paint using a brush or roller, following the manufacturer’s instructions. Start from the edges and work your way towards the center of the repair area. Apply multiple thin coats rather than one thick coat for a smooth and long-lasting finish. Allow each coat to dry completely before applying the next.
Tips for Preventing Future Paint Peeling
Proper Ventilation
Ensure proper ventilation in your home to prevent the buildup of excess moisture. Use exhaust fans in bathrooms, kitchens, and laundry rooms to reduce humidity levels. Proper airflow can significantly reduce the risk of peeling paint due to moisture.
Using the Right Paint
Choose a high-quality paint that is suitable for the specific surface you are painting. Different surfaces may require different types of paint, such as latex, oil-based, or specialized paints for high-moisture areas like bathrooms. Consult with a professional at your local paint store for expert advice on the best paint options.
Regular Maintenance and Inspection
Regularly inspect your walls and ceilings for any signs of peeling paint or water damage. Address any issues promptly to prevent further paint damage. Keep up with regular maintenance tasks such as cleaning, repainting, and sealing to protect the surfaces and prolong the life of your paint.
By understanding the causes of peeling paint, having the right tools and materials, following a step-by-step guide, and implementing preventive measures, you can effectively fix peeling paint on your walls and ceilings. With a little time and effort, you can restore the beauty and integrity of your interior surfaces, ensuring a paint job that lasts for years to come.