If you’re looking to add some extra storage and style to your space, building a floating shelf is a great DIY project to take on. Whether you’re a beginner or a seasoned DIY-er, understanding the basics of a floating shelf is the first step to successfully building one. In this practical guide, we’ll break down everything you need to know about building, installing, and maintaining a floating shelf.
Understanding the Basics of a Floating Shelf
Before we dive into the construction process, let’s take a moment to understand what exactly a floating shelf is. Unlike traditional shelves that are supported by brackets or visible hardware, floating shelves appear to be magically suspended on the wall. The secret lies in the hidden bracket system that provides the necessary support while giving the illusion of a floating shelf.
But let’s delve deeper into the concept of a floating shelf. Picture this: you walk into a room and your eyes are immediately drawn to a sleek, minimalist shelf that seems to defy gravity. It’s a floating shelf, a type of shelf that is attached to a wall without visible supports. It creates a clean and minimalist look, as if the shelf is floating in mid-air. This sleek design is achieved by using hidden brackets or mounting hardware that are concealed within the shelf itself.
What is a Floating Shelf?
A floating shelf is not just an ordinary shelf; it’s a design statement. It adds a touch of elegance and sophistication to any space. The absence of visible supports gives the illusion of a floating object, creating a sense of wonder and intrigue. It’s like a magic trick for your walls.
These shelves are typically made from a variety of materials such as wood, metal, or glass. Each material brings its own unique charm and character to the shelf, allowing you to choose the perfect one that complements your existing decor.
Benefits of a Floating Shelf
There are several benefits to choosing a floating shelf for your home. Firstly, it offers a modern and stylish aesthetic that can elevate the overall look of your space. The clean lines and minimalist design of a floating shelf create a sense of sophistication and elegance.
Another advantage of floating shelves is their ability to maximize the available wall space. Unlike traditional shelves that take up floor area, floating shelves utilize the vertical space on your walls, making them ideal for small rooms or apartments with limited square footage. They allow you to display your favorite books, decorative items, or plants without sacrificing valuable floor space.
Installation of floating shelves is relatively easy, making them a popular choice for DIY enthusiasts. With the right tools and a little bit of patience, you can have your floating shelves up on the wall in no time. And the best part? They can be customized to fit your specific needs and design preferences. Whether you want a single shelf or a whole wall of floating shelves, the possibilities are endless.
So, if you’re looking to add a touch of modern elegance to your space while maximizing your wall space, consider opting for floating shelves. They not only provide functional storage but also create a visually stunning focal point in any room. Get ready to transform your walls into a work of art with these magical floating shelves.
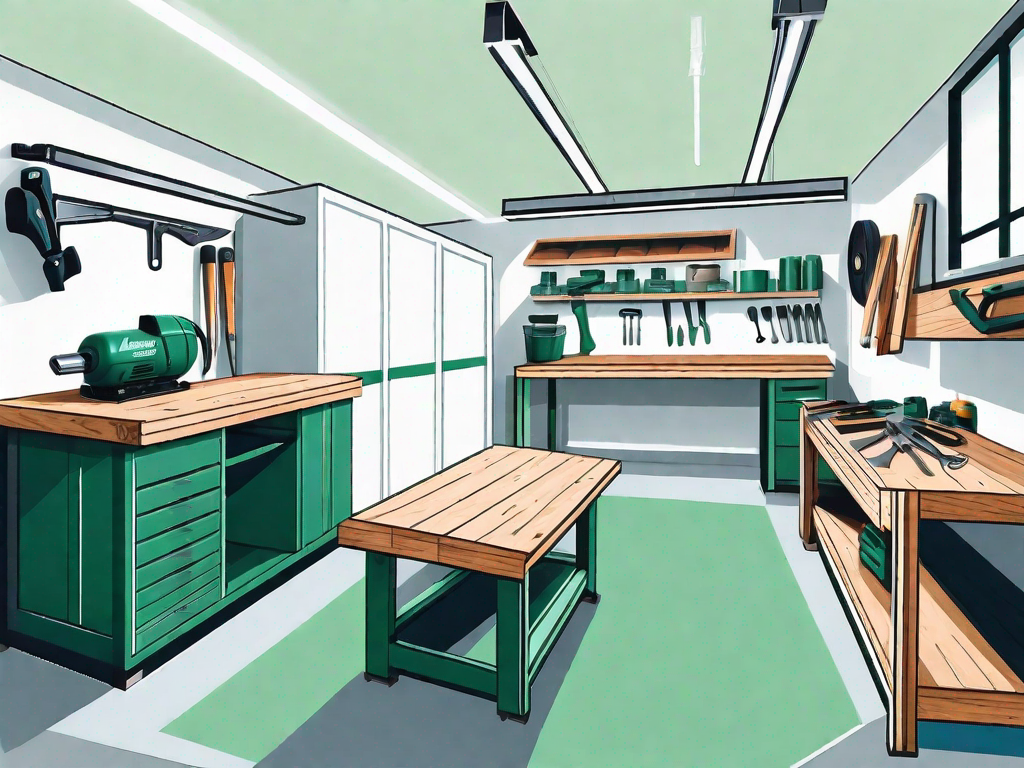
Necessary Tools and Materials for Building a Floating Shelf
Now that you have a good understanding of floating shelves, let’s talk about the tools and materials you’ll need to build one yourself.
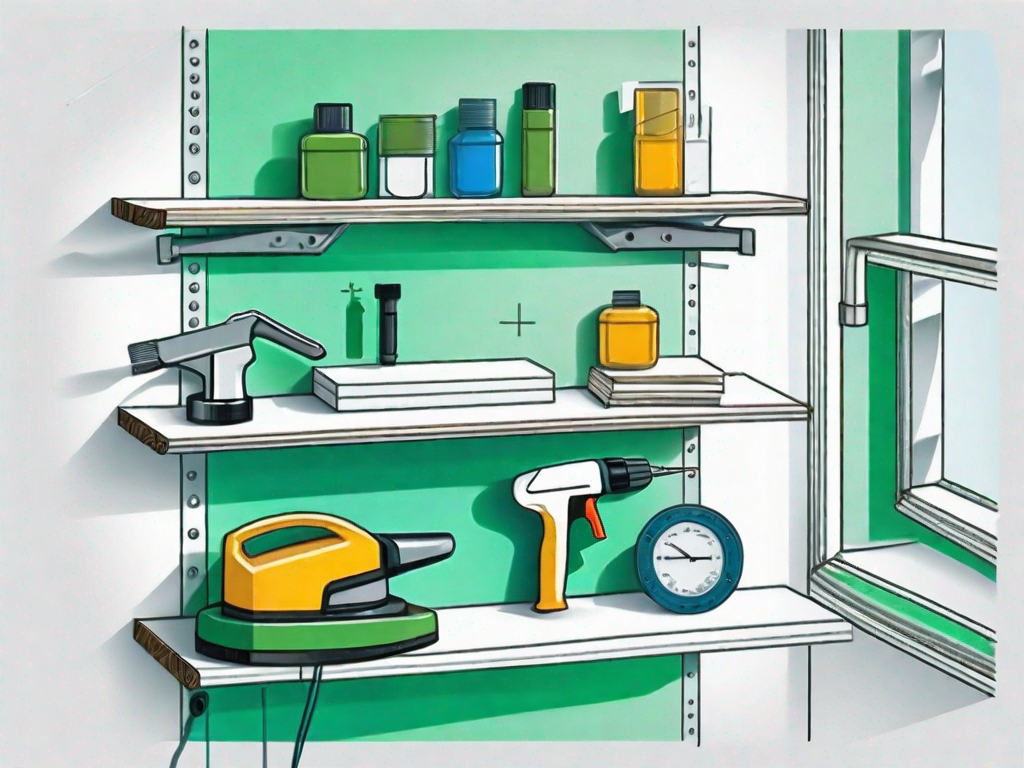
Essential Tools for the Job
To successfully construct a floating shelf, you’ll need the following tools:
- Power drill
- Level
- Tape measure
- Screwdriver
- Sandpaper
- Saw
- Paintbrush
Choosing the Right Materials
When it comes to materials, you have various options depending on your budget and desired aesthetic. For the shelf itself, you can choose from solid wood, plywood, or even reclaimed materials. Ensure that the selected material is sturdy enough to hold the weight of the items you plan to display on the shelf. As for the bracket system, invisible brackets made of metal or heavy-duty concealed brackets are the most common choices.
Step-by-Step Guide to Building a Floating Shelf
Now that you have all the necessary tools and materials, let’s dive into the step-by-step process of building your very own floating shelf.
Preparing Your Workspace
Start by clearing a clean and well-lit area where you can comfortably work. Lay down a protective drop cloth or old sheets to prevent any damage to your floor or furniture. Gather all the tools and materials within easy reach.
Measuring and Cutting the Wood
Using a measuring tape, carefully determine the length and width of the shelf you want to build. Mark those measurements on the selected wood material and use a saw to cut the pieces accordingly. Remember to wear safety goggles and gloves while operating the saw.
Assembling the Shelf
Now it’s time to start assembling your floating shelf. Begin by attaching the hidden brackets or mounting hardware to the backside of the cut wood pieces. Ensure they are securely fastened and properly aligned. Then, connect the shelf pieces together using screws or adhesive. Take your time to make sure everything is level and sturdy.
Finishing and Painting the Shelf
Once the shelf is assembled, it’s time to add the finishing touches. Use sandpaper to smooth out any rough edges and give the shelf a polished look. If desired, you can apply a coat of primer to prepare the surface for painting or staining. Choose a paint color or stain that complements your space and apply multiple coats, allowing each layer to dry completely before adding the next one.
Installing Your Floating Shelf
Now that you’ve successfully constructed and finished your floating shelf, it’s time to install it on the wall.
Choosing the Right Spot for Installation
Consider the weight capacity of your shelf and the type of wall you have before choosing the installation spot. Locate the studs in the wall using a stud finder, as this will provide the most secure support for your floating shelf. Once you’ve found the ideal spot, mark it with a pencil.
Mounting the Shelf on the Wall
Using a power drill, make pilot holes on the marked spots to ensure a smooth installation. Attach the brackets or mounting hardware securely to the wall, aligning them with the pilot holes. Carefully and slowly place the shelf onto the brackets, adjusting as needed to ensure it is level and secure. Double-check that the shelf is properly attached before placing any items on it.
Maintenance and Care for Your Floating Shelf
Congratulations on successfully building and installing your floating shelf! To keep it looking its best, regular maintenance and care are essential.
Cleaning and Dusting Your Shelf
Take a moment to regularly dust your floating shelf to keep it free from debris and dust build-up. Use a soft cloth or a feather duster to gently remove any dirt or dust that may accumulate. If the shelf is stained or painted, avoid using harsh chemicals that could damage the finish.
Regular Check-ups and Repairs
Periodically inspect your floating shelf to ensure that the brackets or mounting hardware are still secure and the shelf is level. If you notice any signs of damage or instability, make the necessary repairs immediately to prevent accidents or further damage.
By following this practical guide, you can confidently build and install a floating shelf in your home. Not only will it provide additional storage space, but it will also add a touch of modern sophistication to your space. With proper maintenance and care, your floating shelf will be a stylish and functional addition to your home for years to come.