Are you tired of the annoying creaks coming from your floor every time you take a step? A creaky floor can be frustrating, but the good news is that it is a problem you can fix yourself. In this article, we will explore the various causes of a creaky floor, the tools and materials you will need for the repair, and provide you with a step-by-step guide to fixing it. We will also discuss preventive measures to avoid future creaks and when it might be necessary to hire professionals. Let’s dive in!
Understanding the Causes of a Creaky Floor
Before we delve into the solutions, it’s important to understand what causes a floor to creak in the first place. There are several factors that can contribute to this problem:
The Role of Temperature and Humidity
Changes in temperature and humidity levels can cause the materials in your floor to expand or contract. This movement creates the creaking sound as the floor settles or rubs against other surfaces. It is particularly common in older homes or regions with extreme climate variations.
When the air becomes more humid, the moisture can be absorbed by the wood in your floor, causing it to swell. Conversely, in dry conditions, the wood loses moisture and shrinks. These constant changes in size can lead to gaps between floorboards, resulting in creaking noises when weight is applied.
Furthermore, temperature fluctuations can also affect the floor’s structural integrity. As the temperature rises, the materials expand, and when it drops, they contract. This continuous expansion and contraction can loosen floorboards, creating the conditions for creaking.
Impact of Aging and Wear on Flooring
Over time, the materials used in your flooring may start to wear out due to constant use. This wear and tear can loosen floorboards, causing them to move slightly and produce creaking noises when pressure is applied. Aging floors are more susceptible to creaks.
As you walk on your floor day after day, the constant pressure can cause the nails or screws holding the floorboards in place to become loose. This can result in gaps between the floorboards, leading to creaking sounds. Additionally, the repeated stress on the floor can cause the wood to weaken and become more prone to creaking.
In some cases, the subfloor underneath the flooring may also deteriorate over time. This can cause the floorboards to sag or become uneven, resulting in creaking when weight is applied to certain areas.
The Effect of Poor Construction
If your floor was not properly installed or if shortcuts were taken during construction, it can lead to creaking. Insufficient subfloor support, inadequate fasteners, or improper spacing between floorboards can all contribute to a noisy floor. Identifying the root cause will help determine the necessary repair approach.
When the subfloor is not adequately supported, it can lead to sagging or unevenness in the floor, causing the floorboards to rub against each other and produce creaking sounds. Similarly, if the fasteners used to secure the floorboards are not sufficient or if they were not properly installed, the floorboards may become loose and create creaking noises.
Improper spacing between floorboards can also be a culprit. If the gaps between the floorboards are too narrow, they can rub against each other and cause creaking. On the other hand, if the gaps are too wide, the floorboards may shift and produce creaking sounds when weight is applied.
It’s important to note that poor construction practices can lead to creaking floors even in newer homes. If the flooring was not installed correctly from the beginning, it can result in ongoing issues and the need for repairs.
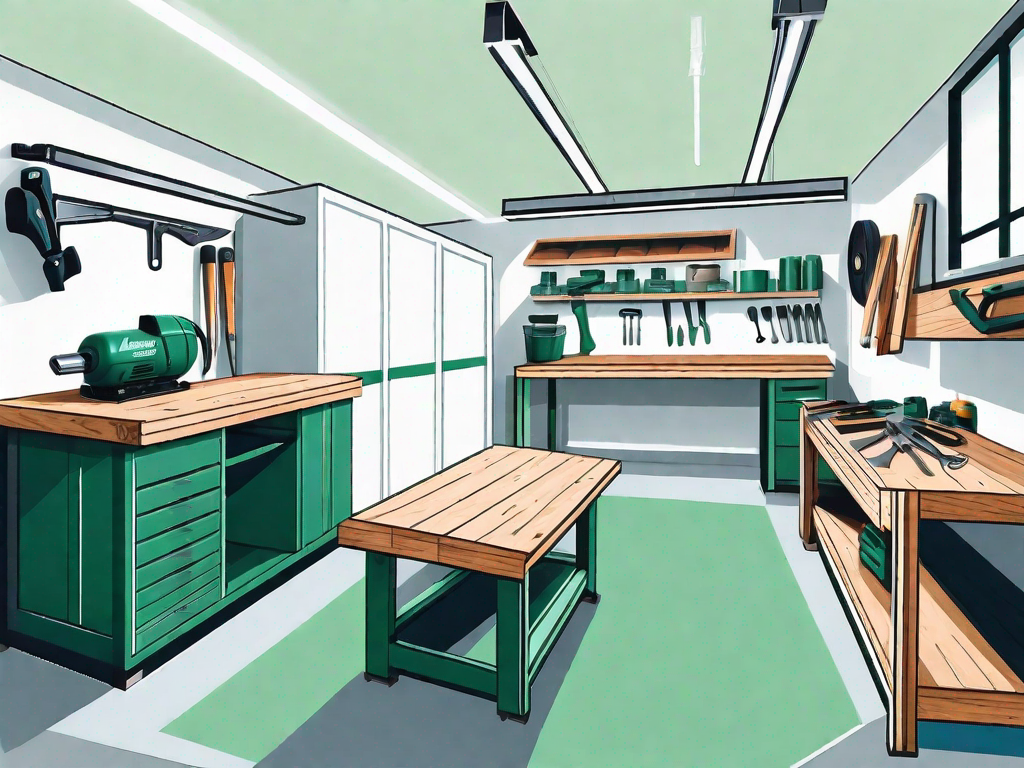
Tools and Materials Needed for Repair
Now that we understand the causes, let’s gather the tools and materials you will need to fix your creaky floor:
Essential Tools for the Job
To successfully repair your floor, you will need a few specific tools. These include a hammer, a pry bar, a drill, a circular saw, a stud finder, a tape measure, and safety goggles. Each tool plays a crucial role in different stages of the repair process.
Choosing the Right Materials
When it comes to materials, you should consider using adhesive, screws, shims, and finishing nails to secure loose floorboards and reduce the creaking. There are different adhesive options available, so be sure to choose one that is suitable for your type of flooring.
Step-by-Step Guide to Fixing a Creaky Floor
Now that we have everything we need, let’s walk through the process of fixing a creaky floor step by step:
Identifying the Problem Areas
The first step is to identify the areas where the floor is creaking. Walk around slowly and listen for the creaking sound. Pay attention to high-traffic areas and places where flooring materials meet, such as doorways or transitions between rooms.
Preparing the Floor for Repair
Once you’ve identified the problem areas, remove any carpet or rugs covering the floor. This will allow you to access the floorboards and work more effectively. Clean the area thoroughly to remove dust and debris that may hinder the repair process.
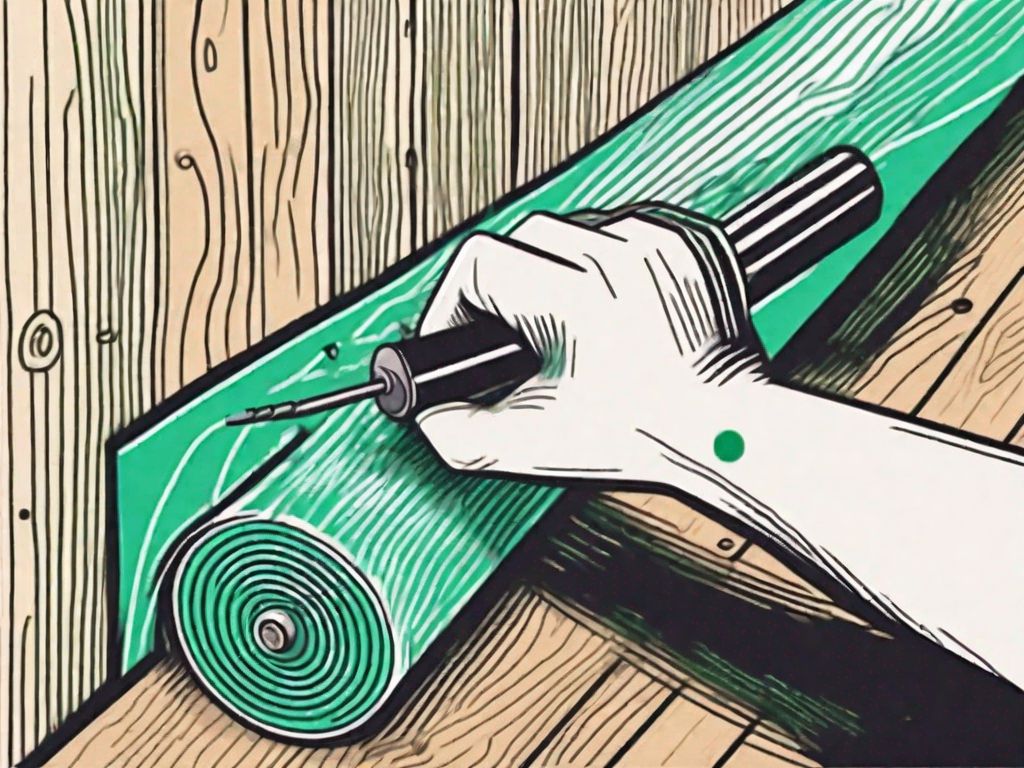
Implementing the Repair Process
Now it’s time to fix those creaks! Depending on the specific cause, you may need to reinforce loose floorboards with adhesive or screws. You may also need to add shims to provide additional support and eliminate any gaps between the boards. Once the repairs are complete, reattach any carpet or rugs that were removed.
Preventive Measures to Avoid Future Creaks
Now that your floor is creak-free, let’s explore some preventive measures to keep it that way:
Regular Maintenance and Inspection
Performing regular maintenance and inspection of your floor is essential. Keep an eye out for any signs of wear or loose floorboards and address them promptly. Also, ensure that humidity levels are maintained within the optimal range to minimize floor movement.
The Importance of Proper Installation
If you are installing new flooring, make sure it is done correctly. Hiring professionals or following installation instructions meticulously will help prevent future creaking. Properly fastening floorboards and ensuring a stable subfloor are vital for a quiet and long-lasting floor.
Hiring Professionals: When and Why
While fixing a creaky floor can be a DIY project, there are situations where it might be best to seek professional help:
Assessing the Severity of the Problem
If you are uncertain about the underlying cause of the creaks or if the issue seems more complex than expected, it is wise to consult a professional. They have the expertise to identify the root cause and recommend appropriate solutions.
The Benefits of Professional Help
Professionals have the necessary skills, experience, and equipment to efficiently fix your creaky floor. They can handle more extensive repairs, such as replacing damaged subflooring, and ensure that the problem is resolved effectively, saving you time and effort in the long run.
With these tips and instructions, you now have the knowledge and tools to fix your creaky floor and enjoy a quiet and peaceful home. Remember, regular maintenance and preventive measures are key to avoiding future creaks. Whether you choose to tackle it yourself or hire a professional, a silent floor awaits you!