Having a hole in your drywall can be a frustrating experience, but fear not! With the right tools and materials, you can easily patch it up yourself. In this step-by-step guide, we’ll walk you through the entire process, from understanding the basics of drywall repair to finishing touches that will leave your wall looking as good as new. So roll up your sleeves and let’s get started!
Understanding the Basics of Drywall Repair
Before diving into the repair process, it’s important to have a clear understanding of what drywall is and the common causes of damage. Drywall, also known as gypsum board or plasterboard, is a panel made of calcium sulfate dihydrate (gypsum) sandwiched between two layers of paper. It is commonly used in interior construction due to its affordability and ease of installation.
What is Drywall?
Drywall is a popular choice for walls and ceilings because it provides a smooth and even surface. It is used as a base for paint or wallpaper and also helps with insulation and soundproofing. The composition of drywall allows it to absorb sound, making it an ideal material for creating a quieter and more comfortable living space. Additionally, drywall is fire-resistant, providing an added layer of safety in case of a fire.
When it comes to aesthetics, drywall offers a clean and seamless appearance. Its smooth surface allows for a flawless finish when painted or wallpapered, giving any room a polished and professional look. Drywall is also versatile, as it can be easily cut and shaped to fit around corners, windows, and doors, making it a flexible material for various architectural designs.
Common Causes of Drywall Damage
There are several reasons why drywall can become damaged. Common causes include accidental impacts, water leaks, humidity, and settling of the foundation. Accidents can range from doorknob-sized holes to more significant damage caused by furniture or appliances. It’s essential to be cautious when moving furniture or hanging items on the wall to prevent any accidental damage to the drywall.
Water damage can lead to softening, sagging, or discoloration of the drywall. This can occur due to plumbing leaks, roof leaks, or even excessive moisture in the air. It’s crucial to address water issues promptly to prevent further damage to the drywall and potential mold growth.
Humidity, particularly in areas like bathrooms or basements, can cause cracking or peeling of the drywall. High moisture levels in these spaces can weaken the integrity of the drywall, leading to unsightly cracks or even the formation of mold. Proper ventilation and moisture control are essential in preventing such damage.
Lastly, as the structure of a building settles over time, it can create cracks or other imperfections in the drywall. These settling cracks are often a result of the natural shifting and movement of the foundation. While these cracks may not pose a structural threat, they can be unsightly and require repair to maintain the aesthetic appeal of the walls.
In conclusion, understanding the basics of drywall and the common causes of damage is crucial for effective repair. Drywall’s versatility, durability, and aesthetic appeal make it a popular choice for interior construction. However, accidents, water damage, humidity, and settling can all contribute to the need for repair. By addressing these issues promptly and using appropriate repair techniques, you can restore the integrity and appearance of your drywall, ensuring a beautiful and functional living space.
Tools and Materials Needed for Drywall Repair
Before you start repairing the hole in your drywall, make sure you have all the necessary tools and materials on hand. This will save you time and ensure a smoother repair process.
Essential Tools for the Job
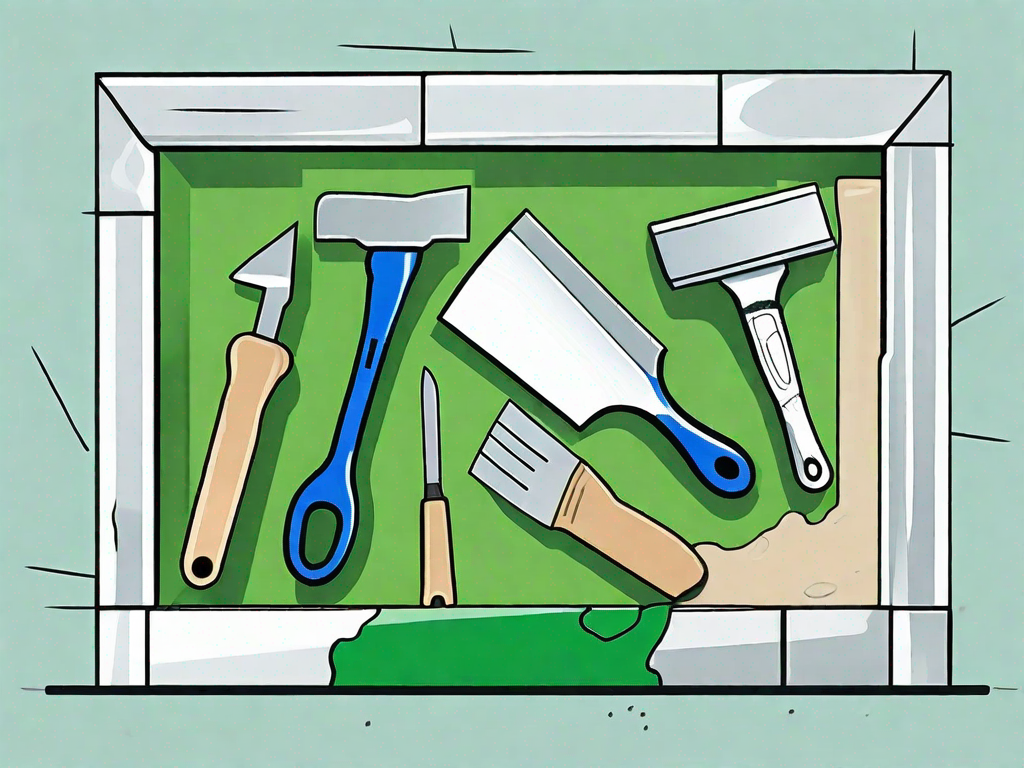
Here are some of the essential tools you’ll need:
- Multipurpose knife or drywall saw
- Drywall tape
- Joint compound
- Putty knife
- Sanding block or sandpaper
- Paintbrush and paint
Choosing the Right Materials
When it comes to choosing materials, it’s important to match the existing drywall as closely as possible. This includes selecting the same thickness and ensuring the patch is the same size as the hole. If you’re unsure about the right materials to use, consult with a professional or knowledgeable staff at your local home improvement store.
Preparing the Damaged Area
Before you can begin patching up the hole, you’ll need to assess the damage and properly prepare the area. Taking the time to do this step correctly will ensure a more successful repair.
Assessing the Damage
Start by evaluating the size and severity of the hole. Small holes, such as those caused by nails or screws, can be easily repaired using a patching compound. Larger holes may require a more extensive patching technique.
Cleaning and Prepping the Hole
Before applying any patches, it’s crucial to clean the hole and surrounding area. Use a utility knife or drywall saw to remove any loose or damaged material around the hole. Wipe away any dust or debris and ensure the surface is clean and dry. This will help the patch adhere properly and prevent further damage.
The Patching Process
Once the area is prepped, it’s time to start patching up the hole in your drywall. This process involves applying the patching compounds and securing it in place.
Applying the Drywall Patch
Begin by applying a layer of joint compound or patching compound over the hole using a putty knife. Make sure to spread the compound evenly and feather the edges to create a smooth transition. For larger holes, you may need to use a patch made from a piece of drywall or a mesh patch.
Securing and Sealing the Patch
Once the patch is in place, apply another layer of joint compound over the entire patch, extending it slightly beyond the edges. Smooth out the compound using long, even strokes. Allow the compound to dry according to the manufacturer’s instructions, then lightly sand it to create a smooth surface. Repeat this step if necessary to ensure a seamless repair.
Finishing Touches for a Seamless Repair
Now that the patch is secure and the hole is repaired, it’s time to put the finishing touches on your drywall repair. This involves sanding the patched area and blending it with the surrounding wall, followed by painting for a seamless finish.
Sanding the Patched Area
Using a sanding block or sandpaper, gently sand the patched area until it is smooth and level with the surrounding surface. Be careful not to apply excessive pressure or sand too much, as you may damage the surrounding drywall.
Painting and Blending the Repaired Area
After sanding, wipe away any dust with a clean cloth or sponge. Then, apply a primer to the patched area to ensure proper paint adhesion. Once the primer is dry, paint the repaired area to match the surrounding wall. If necessary, apply multiple coats for an even finish. Take your time and blend the paint with the surrounding wall to make the repair virtually invisible.
By following these step-by-step instructions, you can efficiently patch up a hole in drywall and restore the beauty of your walls. Remember, practice makes perfect, so don’t be discouraged if your first attempt isn’t flawless. With a bit of patience and effort, you’ll become a drywall repair pro in no time!