Flat tires are an unavoidable inconvenience for cyclists. However, with the right tools and techniques, repairing a bicycle flat tire can be a straightforward process. In this article, we will explore the basics of bicycle tires, essential tools for tire repair, step-by-step guidance on fixing a flat tire, and tips for preventing future flats. So, let’s get started!
Understanding the Basics of a Bicycle Tire
Before we dive into the nitty-gritty of tire repair, it’s crucial to have a solid understanding of how bicycle tires work.
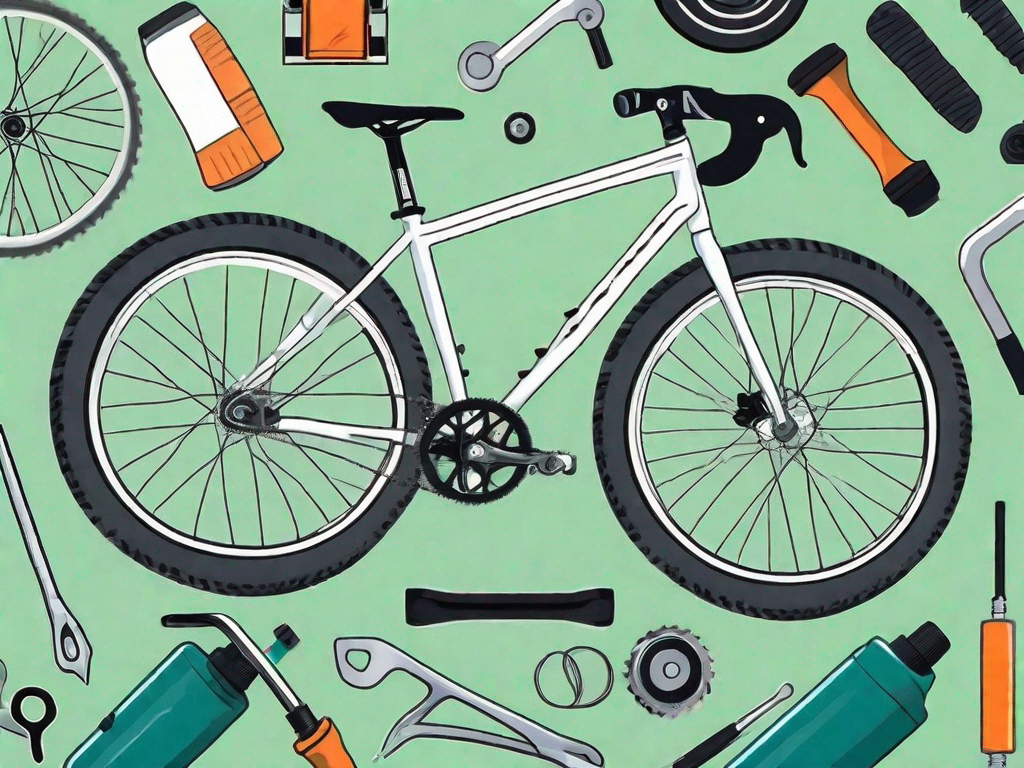
Anatomy of a Bicycle Tire: A bicycle tire consists of several components, including the tread, sidewall, bead, and inner tube. The tread provides traction and grip on the road, while the sidewall reinforces the tire’s structure. The bead is the part of the tire that hooks into the rim, keeping it securely in place. The inner tube, typically made of rubber, holds the air to maintain proper tire pressure.
Common Causes of Bicycle Flat Tires: Understanding the common causes of flat tires will help you take preventive measures to minimize their occurrence. Some common culprits include sharp objects like nails, glass shards, or thorns on the road; improper tire inflation; worn-out tires with thin tread; and pinch flats caused by hitting a curb or pothole.
Tread: The tread on a bicycle tire is designed to provide traction and grip on various surfaces. It consists of a pattern of grooves and knobs that help channel water away from the tire, improving grip in wet conditions. Different types of tread patterns are available, each suited for specific riding conditions. For example, tires with aggressive, deep treads are ideal for off-road biking, while slick or semi-slick tires are better suited for smooth pavement.
Sidewall: The sidewall of a bicycle tire plays a crucial role in reinforcing the tire’s structure and protecting it from damage. It is the part of the tire that connects the tread to the bead. Sidewalls are typically made of durable materials like nylon or kevlar, which provide strength and resistance against punctures. Some high-performance tires may have sidewall reinforcements to enhance stability and cornering grip.
Bead: The bead is the part of the tire that hooks into the rim, ensuring a secure fit. It is usually made of steel or kevlar wires encased in rubber. The bead is responsible for maintaining the tire’s shape and preventing it from slipping off the rim during rides. It is essential to ensure that the bead is properly seated on the rim to avoid any potential safety hazards.
Inner Tube: The inner tube is a crucial component of a bicycle tire as it holds the air necessary to maintain proper tire pressure. It is typically made of rubber and is responsible for providing the necessary cushioning and shock absorption. Inner tubes come in various sizes to match different tire widths. It is essential to regularly check the inner tube for any signs of damage or wear and replace it if necessary to prevent unexpected flats.
Sharp Objects: One of the most common causes of flat tires is encountering sharp objects on the road. Nails, glass shards, or thorns can easily puncture a bicycle tire, causing a sudden loss of air pressure. To minimize the risk of encountering such objects, it is advisable to ride in areas with clean and well-maintained roads. Additionally, regularly inspecting the tire for any embedded debris and promptly removing it can help prevent potential punctures.
Improper Tire Inflation: Maintaining the correct tire pressure is crucial for optimal performance and preventing flats. Underinflated tires are more susceptible to pinch flats, where the inner tube gets pinched between the tire and the rim, causing a puncture. On the other hand, overinflated tires can lead to a harsh ride and increase the risk of blowouts. It is essential to follow the manufacturer’s recommended tire pressure and regularly check and adjust the tire pressure as needed.
Worn-out Tires: Tires with thin tread are more prone to flats as they offer less protection against sharp objects. As the tread wears down over time, it becomes less effective at providing grip and can easily puncture. Regularly inspecting the tire tread depth and replacing worn-out tires can help prevent flats and ensure safe riding conditions.
Pinch Flats: Pinch flats, also known as snake bites, occur when the tire hits a curb or pothole with insufficient tire pressure. The impact causes the inner tube to get pinched between the tire and the rim, resulting in two small punctures resembling a snake bite. To avoid pinch flats, it is crucial to maintain the recommended tire pressure and ride with caution, especially when encountering obstacles on the road.
Essential Tools for Bicycle Tire Repair
Having the right tools in your repair kit will make fixing a flat tire a breeze. Here are a few must-have items:
Tire Levers
Tire levers are essential for safely removing the tire from the rim. These small, spoon-shaped tools help you pry the tire off without damaging the inner tube or rim. Using two levers, carefully slide them under the tire bead, gently lifting it over the rim.
Patch Kits
A patch kit contains everything you need to fix a punctured inner tube. It typically includes sandpaper or a file for roughening the tube surface, glue for adhering the patch, and patches of various sizes. Apply the patch to the puncture after cleaning and drying the area.
Hand Pumps
A hand pump allows you to inflate the repaired tire once it’s back on the rim. Look for a pump that is compatible with both Presta and Schrader valves, as these are the two most common types found on bicycle tubes.
Step-by-Step Guide to Repairing a Flat Bicycle Tire
Now that you have a grasp of the basics let’s walk through the process of fixing a flat bicycle tire:
Removing the Flat Tire
First, flip your bike over and locate the brake release lever to make removing the wheel easy. Once the wheel is off, release any remaining air from the tire by pressing on the valve stem. Insert the tire levers under the tire bead, leveraging them to lift the tire off the rim.
Locating the Puncture
Once the tire is off, inflate the inner tube slightly to help identify the puncture. Alternatively, you can immerse the tube in water and look for any air bubbles escaping. Find and mark the puncture site with a pen or marker for easy identification during the patching process.
Applying the Patch
Prepare the tube surface by lightly sanding or filing the area around the puncture. Apply a thin layer of glue to the sanded region, allowing it to dry for a few moments until tacky. Place the patch over the puncture, firmly pressing it down to ensure proper adhesion. Give it some time to set before moving on.
Reinstalling the Tire
Carefully insert the valve stem back through the rim, making sure it aligns properly. Starting opposite the valve stem, work the tire bead back onto the rim by hand. Utilize the tire levers if needed but use caution to avoid pinching the tube. Inflate the tire to the recommended pressure specified on the sidewall, ensuring it is evenly inflated on both sides before reinstalling the wheel onto your bike.
Tips for Preventing Future Flat Tires
Avoiding flat tires is preferable to fixing them. Follow these preventive measures to reduce the chances of pesky flats:
Regular Tire Inspections
Inspect your tires regularly for signs of wear, cuts, or embedded debris. Remove any foreign objects stuck in the tread and replace worn-out or compromised tires promptly.
Proper Inflation Techniques
Maintaining the correct tire pressure not only prevents flats but also ensures optimal performance. Use a tire pressure gauge to check and adjust tire pressure according to the recommended range specified on the sidewall of the tire.
Choosing the Right Tires for Your Riding Conditions
Selecting tires suitable for your riding conditions can help minimize the risk of flats. Consider factors such as tire width, tread pattern, and puncture-resistant features when choosing your next set of tires. For example, thicker, puncture-resistant tires can provide added peace of mind on rough or debris-strewn roads.
By understanding the basics of bicycle tires, having the essential tools, and following a step-by-step process, repairing a flat bicycle tire can be a straightforward task. Remember to inspect your tires regularly and take preventive measures to minimize the chances of future flats. With these tools and techniques in your arsenal, you’ll be back on the road in no time!