A window seat is not only a beautiful addition to any room, but it also provides extra storage space. Whether you have a small apartment or a spacious home, a window seat can be a functional and attractive solution. In this article, we will guide you through the process of building a window seat step by step, from understanding the basics to adding the finishing touches.
Understanding the Basics of a Window Seat
Before diving into the construction process, let’s start by understanding what a window seat is. In simple terms, a window seat is a built-in bench-like structure that is placed next to a window. It usually features a comfortable cushioned seat and storage compartments underneath.
A window seat is not just a piece of furniture; it is a versatile addition to any home. It can transform an empty space into a cozy reading nook, a relaxing spot to enjoy a cup of coffee, or a practical storage solution. With a window seat, you can make the most of the often-underutilized space next to your windows.
What is a Window Seat?
A window seat is more than just a place to sit. It is a sanctuary where you can escape from the hustle and bustle of everyday life. Imagine curling up on a cushioned seat, surrounded by soft pillows, with a book in hand and a warm beverage nearby. The natural light streaming in through the window creates a serene atmosphere, allowing you to immerse yourself in the pages of your favorite novel.
Not only does a window seat provide a cozy retreat, but it also offers a beautiful view of the outdoors. Whether you live in a bustling city or a tranquil countryside, having a window seat allows you to connect with nature. You can watch the changing seasons, admire the vibrant colors of blooming flowers, or simply enjoy the sight of birds flying by.
Benefits of Having a Window Seat
There are several benefits to having a window seat in your home. Firstly, it adds extra seating options without taking up much floor space. In a small living room or bedroom, where every inch counts, a window seat can be a space-saving solution. It provides a comfortable place to sit and relax without cluttering the room with additional chairs.
Secondly, a window seat allows you to maximize the natural light in your home. By positioning the seat next to a window, you can bask in the warmth of the sun’s rays and enjoy the health benefits of natural light. Sunlight is known to boost mood, improve productivity, and enhance overall well-being.
Lastly, the storage compartments underneath the seat offer a convenient place to store books, blankets, toys, or any other items you want to keep within reach but out of sight. This hidden storage solution helps maintain a clutter-free space while keeping your belongings organized and easily accessible.
So, whether you are looking to create a cozy reading nook, a peaceful spot to enjoy the view, or a practical storage solution, a window seat is a versatile addition to any home. It not only adds functionality but also enhances the aesthetic appeal of your living space. Embrace the beauty of a window seat and let it become your favorite spot to unwind and indulge in the simple pleasures of life.
Pre-Construction Considerations
Before starting the construction process, there are a few things you need to consider.
Choosing the Right Window
The first step is selecting the right window for your window seat. Ideally, you want a window that is large enough to accommodate the seat and allows plenty of natural light to enter the space. Consider the overall style of your home and choose a window that complements the existing architecture.
Measuring Your Space
Accurate measurements are crucial for a successful window seat project. Measure the width and height of the available space, keeping in mind any obstructions such as radiators or outlets. This will ensure that your window seat fits perfectly into the desired area.
Selecting the Right Materials
When it comes to materials, you have plenty of options. The frame can be made from wood, while the seat and backrest can be constructed using plywood or medium-density fiberboard (MDF). Choose materials that match your aesthetics and durability requirements.
Step-by-Step Guide to Building a Window Seat
Now that you have an understanding of the basics and have considered the pre-construction factors, it’s time to dive into the step-by-step process of building your window seat.
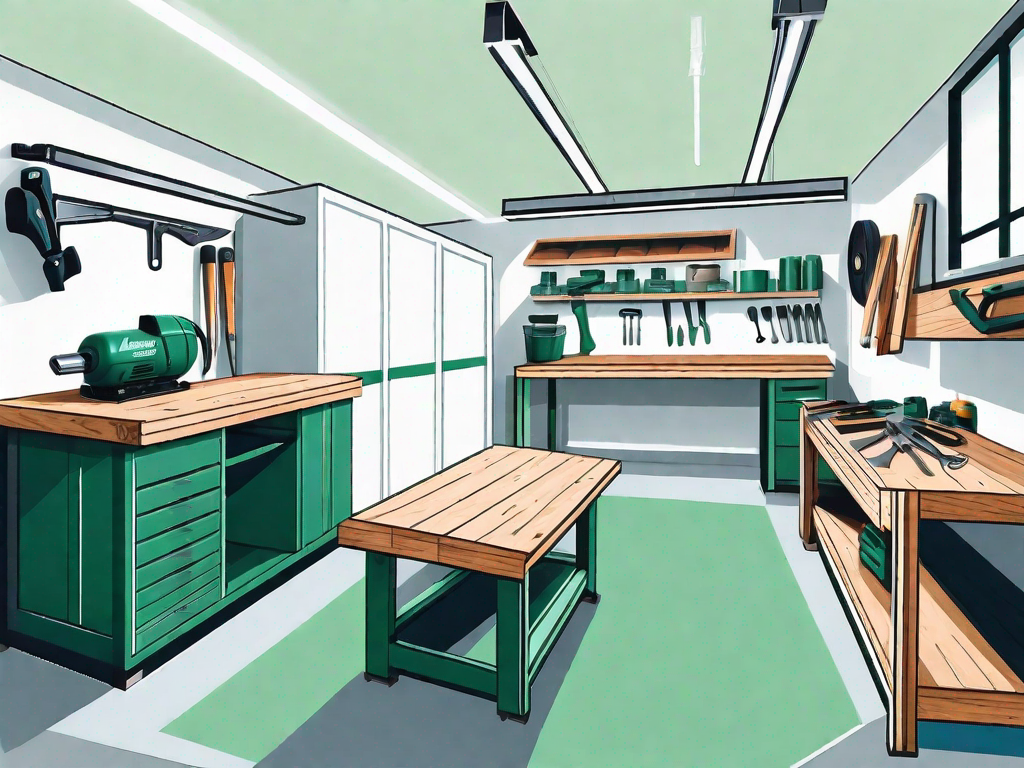
Preparing Your Workspace
Start by clearing the area around the window where you plan to build the seat. Remove any furniture or decorations, leaving a blank canvas to work with. This will give you ample space to maneuver and construct the window seat.
Building the Frame
With your workspace prepared, it’s time to start building the frame. Measure and cut the wooden pieces according to your dimensions. Assemble the frame using screws or nails and ensure it is sturdy and level. An even and well-supported frame is essential for a comfortable and long-lasting window seat.
Installing the Seat
Once the frame is completed, it’s time to install the seat. Use plywood or MDF to create a solid base. Attach the base to the frame using screws or nails. Ensure that the seat is securely fastened in place and can support the weight of an adult without any sagging or creaking.
Adding the Storage
Now comes the exciting part – adding the storage compartments. Measure and cut pieces of wood to create dividers and shelves within the storage area. Use screws or nails to secure them in place. Consider adding decorative trim or molding to enhance the visual appeal of your storage compartments.
Finishing Touches for Your Window Seat
With the construction completed, it’s time to add the finishing touches to your window seat.
Painting and Decorating Your Window Seat
Choose a paint color that complements your room’s decor and apply a few coats to the wooden surfaces. Sand the painted surfaces gently between coats to achieve a smooth and professional finish. Once the paint is dry, you can add any decorative accents, such as wallpaper, decals, or stenciling, to personalize your window seat.
Adding Cushions and Pillows
The final step is to make your window seat comfortable and inviting. Measure and cut foam or cushion inserts to fit the seat area. Cover them with fabric that complements your room’s color scheme or style. Add decorative pillows for extra comfort and a touch of style. Don’t forget to select durable, washable fabrics that can withstand regular use.
And there you have it – a completed window seat with extra storage! Whether you’re a beginner or a seasoned DIY enthusiast, building a window seat can be a rewarding project that elevates the functionality and aesthetics of your space. So go ahead, enjoy the process, and create a cozy nook that you can’t wait to relax in.