Are you looking to create a functional workspace in your garage? Building a workbench is a great way to organize your tools and have a designated area for all your DIY projects. In this article, we will guide you through the process of constructing a workbench that suits your needs. From understanding the basics to gathering materials and designing your workbench, we’ve got you covered. So, let’s dive in and get started!
Understanding the Basics of a Garage Workbench
Before you start building, it’s essential to understand the basics of a garage workbench. By defining your workbench needs and considering its essential features, you’ll be able to create a workspace that caters to your specific requirements.
A garage workbench is more than just a table in your garage. It is a dedicated space where you can work on various projects, whether it’s woodworking, electronics repair, or pursuing other hobbies. It provides you with a stable and organized area where you can focus on your tasks without any distractions.
Defining Your Workbench Needs
Begin by evaluating how you intend to use your workbench. Is it primarily for woodworking? Do you need space for electronics repair or other hobbies? Understanding your specific needs will help determine the size and features you’ll require.
If you are into woodworking, you may need a larger workbench with a spacious surface area to accommodate your projects. On the other hand, if you are into electronics repair, you may need a workbench with built-in power outlets and cable management solutions to keep your workspace tidy and safe.
Consider the tools and equipment you will be using regularly. Will you need storage options such as drawers or shelves to keep your tools organized and easily accessible? Think about the materials you will be working with and whether you will need additional features like clamps or vices to secure your workpieces.
Essential Features of a Garage Workbench
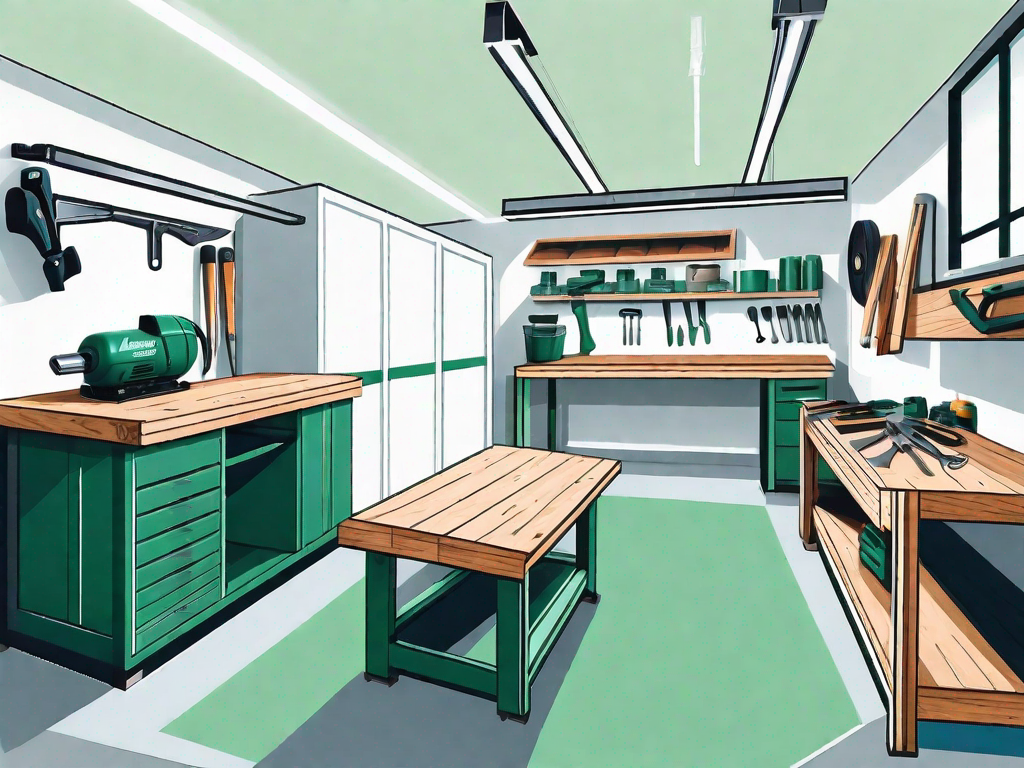
While each workbench may differ in size and design, there are some essential features worth considering. Some of these include a sturdy work surface, storage options such as drawers or shelves, and a pegboard or tool rack for easy access to your tools.
A sturdy work surface is crucial for any workbench. It should be able to withstand the weight of your projects and provide a stable platform for you to work on. Consider using materials like solid wood or heavy-duty plywood for the workbench top.
Storage options are essential for keeping your tools and materials organized. Drawers or shelves can provide a designated space for smaller tools, hardware, and supplies. Having everything within reach will save you time and make your work more efficient.
A pegboard or tool rack is a great addition to any garage workbench. It allows you to hang your most commonly used tools, keeping them easily accessible and visible. This not only saves space but also helps you stay organized and prevents tools from getting lost or damaged.
Additionally, consider incorporating features like adjustable height or built-in lighting to enhance your workbench’s functionality and comfort. An adjustable height workbench allows you to work in a standing or seated position, reducing strain on your back and improving ergonomics. Proper lighting is crucial for any workspace, ensuring that you have adequate visibility to work safely and accurately.
By carefully considering your workbench needs and incorporating essential features, you can create a functional and efficient workspace in your garage. Whether you are a hobbyist or a professional, having a well-designed workbench will greatly enhance your productivity and enjoyment of your projects.
Gathering Your Materials
Now that you have a clear understanding of your workbench needs, it’s time to gather the materials required for the project. Let’s start with the choice of wood and the necessary tools.
Choosing the Right Wood
When it comes to choosing the right wood for your workbench, durability and stability are key factors. Consider using hardwoods such as oak or maple for the work surface and framing. These woods are sturdy enough to handle heavy loads and resist warping over time.
Necessary Tools for Building a Workbench
Before you dive into constructing your workbench, make sure you have the necessary tools on hand. Some of the basic tools you’ll need include a circular saw, drill with various drill bits, clamps, measuring tape, and a level. Having these tools readily available will make the construction process smoother.
Designing Your Workbench
With the materials in place, it’s time to turn your attention to the design of your workbench. Customizing the size and planning storage and workspace areas are essential steps in creating a functional and efficient workspace.
Determining the Right Size
Consider the available space in your garage and the range of projects you’ll be working on. A workbench that is too small can limit your ability to tackle larger projects, while one that is too big may take up unnecessary space. Measure the area where you plan to install your workbench and determine the appropriate size that fits your needs.
Planning Storage and Workspace Areas
Think about the tools and materials you’ll be using frequently and plan storage options accordingly. Adding drawers or shelves can help keep your workspace organized and ensure that everything you need is within arm’s reach.
Step-by-Step Guide to Building Your Workbench
Now that you’ve planned and designed your workbench, it’s time to roll up your sleeves and start building. Follow this step-by-step guide to ensure a smooth construction process.
Preparing Your Materials
Begin by cutting the wood according to your measurements. Lay out all the materials and tools in an organized manner, making it easier to access everything as you progress through the construction process.
Assembling Your Workbench
Start by constructing the frame of the workbench, ensuring that it is square and level. Once the frame is secure, add the work surface and any additional storage options you have planned. Take your time during this phase to ensure that each component is securely fastened.
Finishing Touches for Your Workbench
After the main structure is complete, sand all surfaces to remove any rough edges or splinters. You can then apply a protective finish, such as a clear polyurethane, to enhance the durability and appearance of your workbench.
Safety Measures While Building a Workbench
While building your workbench, it’s crucial to prioritize safety. Proper use of tools and ensuring workbench stability are key aspects to consider.
Using Tools Safely
Always follow the manufacturer’s guidelines for each tool you are using. Wear appropriate safety gear, such as goggles and gloves, to protect yourself from potential hazards. Take your time and double-check your measurements before making any cuts or adjustments.
Ensuring Workbench Stability
Ensure that your workbench is stable and won’t tip over while you are working on it. If necessary, consider anchoring it to the wall or the garage floor for added stability. Make sure all fasteners are tight and periodically check for any loose parts.
By following these steps, you can build a workbench that not only meets your specific needs but also provides a solid foundation for all your future DIY endeavors. With a well-designed and organized workspace in your garage, you’ll be ready to tackle any project that comes your way. Happy building!