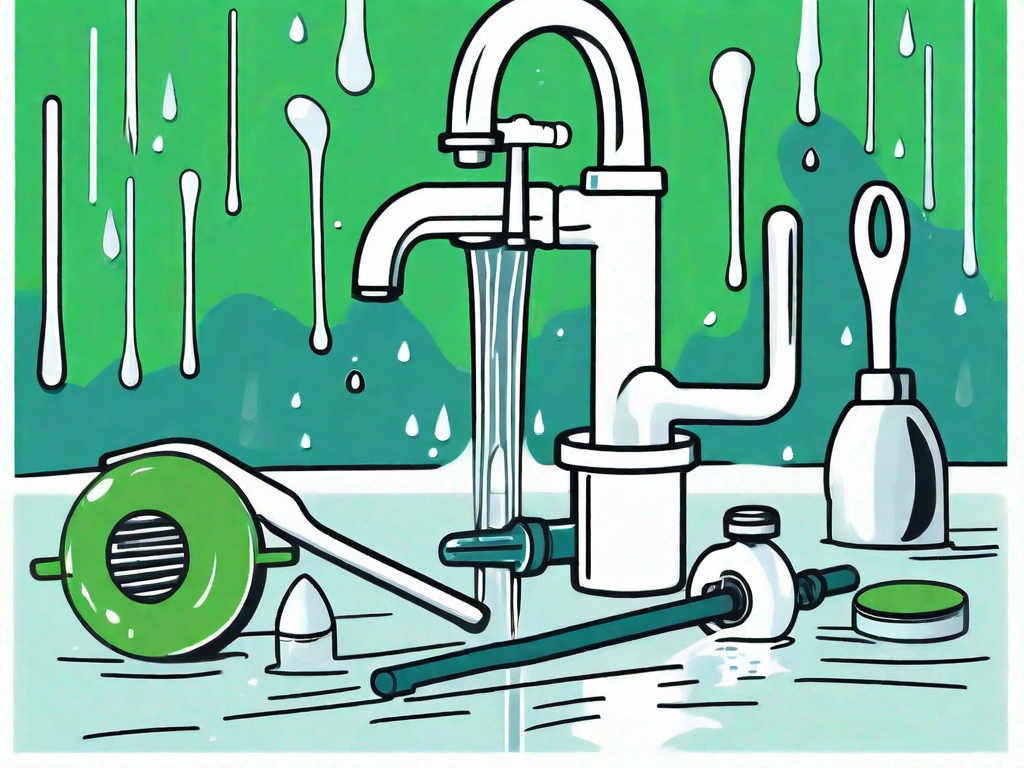
If you have a leaky faucet, it can be not only annoying but also wasteful. The constant dripping can add up to a significant amount of water over time. Fortunately, many faucet leaks can be fixed easily with a few basic tools and some troubleshooting techniques. In this article, we will guide you through the process of fixing a leaky faucet, from understanding the basics of a faucet to preventing future leaks. So let’s get started!
Understanding the Basics of a Faucet
Before we dive into fixing the leak, it’s helpful to have a basic understanding of how a faucet works. Faucets come in various types, including compression faucets, ball faucets, cartridge faucets, and ceramic disk faucets. Each type has its own mechanism for controlling the flow of water. By understanding the type of faucet you have, you’ll be better equipped to address any issues that arise.
Types of Faucets
Compression faucets are the most common type and have separate hot and cold handles. Ball faucets have a single handle that controls both temperature and water flow. Cartridge faucets operate with a movable stem cartridge, and ceramic disk faucets use two ceramic disks to control the water flow. Identifying the type of faucet in your home will help you find the appropriate repair techniques.
Common Causes of Leaky Faucets
There are several common causes of faucet leaks. O-rings, washers, or seals can wear out over time, resulting in drips or a steady stream of water. Loose or damaged parts, such as valve seats or cartridges, can also contribute to leaks. Understanding these common causes will enable you to troubleshoot and fix the issue more effectively.
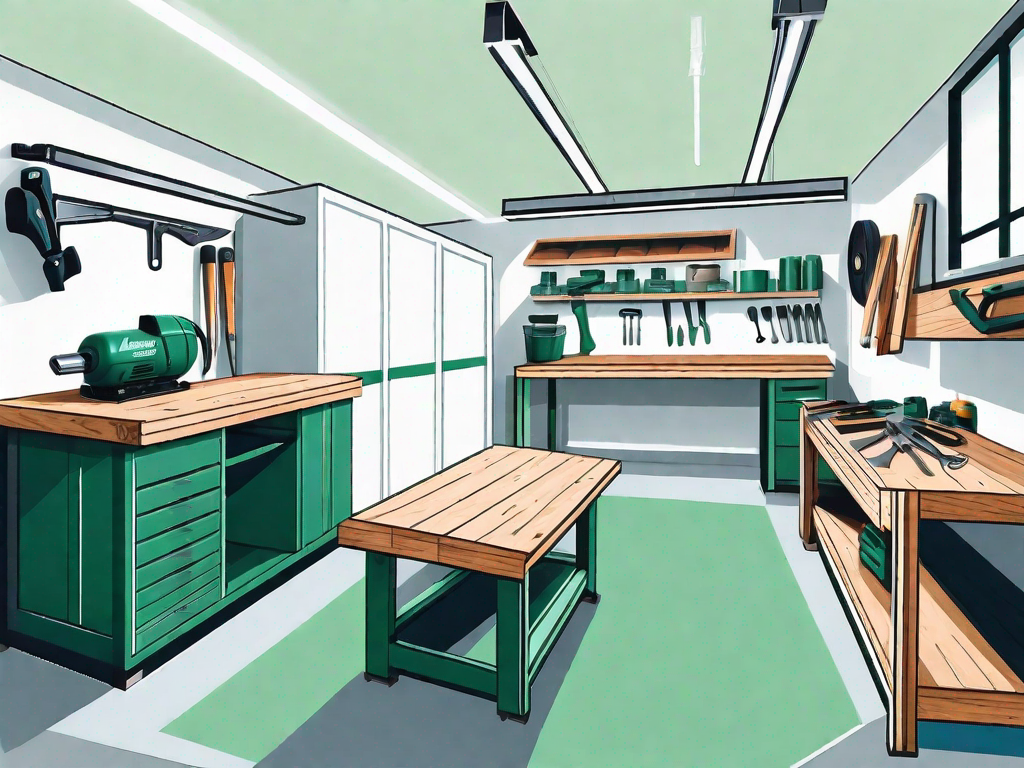
Essential Tools for Fixing a Leaky Faucet
To fix a leaky faucet, you’ll need a few essential tools. Some basic plumbing tools include an adjustable wrench, pliers, and a screwdriver. Additionally, specialized tools for faucet repair, such as a faucet valve seat wrench, O-ring picks, and a cartridge puller, can be useful for more specific tasks. Having these tools readily available will make the repair process much smoother.
Basic Plumbing Tools
An adjustable wrench is essential for loosening and tightening various plumbing connections. Pliers come in handy for gripping and turning objects, while a screwdriver is useful for removing screws. These tools are fundamental to most faucet repairs and should be part of your plumbing toolkit.
Specialized Tools for Faucet Repair
When it comes to faucet repair, some specialized tools can simplify the process. A faucet valve seat wrench is specifically designed to remove and replace valve seats. O-ring picks are useful for removing and installing O-rings, and a cartridge puller can help you remove stuck cartridges. These specialized tools can save you time and frustration during the repair process.
Troubleshooting Your Leaky Faucet
Before you begin disassembling your faucet, it’s essential to troubleshoot the problem. This will help you identify the type of leak and locate its source. By pinpointing the issue, you can focus your efforts on the correct repair steps.
Identifying the Type of Leak
There are four common types of faucet leaks: dripping from the spout when the faucet is off, leaking from the handle, water pooling around the base of the faucet, and drops coming from the spout even when the handle is closed. Identifying which type of leak you have will guide you in the right direction for repair.
Locating the Source of the Leak
Once you’ve determined the type of leak, the next step is to find its source. In some cases, it may be obvious, such as a dripping spout or a visibly damaged handle. However, leaks can also originate from less visible areas, such as worn-out cartridges or faulty valve seats. Diligently inspecting the faucet will help you locate the exact source of the leak.
Step-by-Step Guide to Fixing a Leaky Faucet
Now that you’ve identified the type and source of the leak let’s walk through the steps to fix your leaky faucet. By following these steps, you can successfully repair the leak and prevent any further water wastage.
Preparing Your Work Area
Before you start the repair, it’s essential to prepare your work area. Turn off the water supply to the faucet by shutting off the water valves underneath the sink. Clear any objects from the sink area, and lay down a towel or mat to protect the surface from scratches or dropped tools.
Disassembling the Faucet
To begin the repair, you’ll need to disassemble the faucet. Start by removing decorative caps or handles to access the internal components. Use the appropriate tools, such as a screwdriver or wrench, to loosen and remove any screws or nuts holding the faucet together. Keep track of the order in which you remove the parts to ensure correct reassembly.
Replacing Faulty Parts
Once you have disassembled the faucet, inspect the components for any signs of damage or wear. Common parts that may need replacement include O-rings, washers, cartridges, or valve seats. Replace any faulty parts with new ones, ensuring they are compatible with your faucet’s make and model. Apply plumber’s grease or Teflon tape to necessary areas to prevent future leaks.
Reassembling and Testing Your Faucet
After replacing any faulty parts, carefully reassemble the faucet in the reverse order of disassembly. Ensure that all connections are secure and tighten any screws or nuts as necessary. Once reassembled, turn on the water supply and test the faucet for leaks. If no leaks are present, congratulations! You have successfully fixed your leaky faucet.
Preventing Future Faucet Leaks
Now that you have repaired your leaky faucet let’s discuss some preventive measures to avoid future leaks. Regular maintenance and proper usage can significantly extend the lifespan of your faucet and minimize the chances of leaks occurring.
Regular Maintenance Tips
Perform routine inspections of your faucet for any signs of wear or damage. Replace any worn-out parts promptly to prevent leaks. Clean the aerator and remove any mineral deposits that can affect water flow. Avoid excessive force when turning handles or shutting off the faucet, as this can cause damage over time. Regular maintenance can save you from future headaches and costly repairs.
When to Call a Professional Plumber
While many faucet leaks can be fixed by homeowners, some situations may require the expertise of a professional plumber. If you are uncomfortable with the repair process, unable to identify the source of the leak, or the problem persists after your repair attempts, it’s best to call a plumber. They have the necessary skills and knowledge to handle more complex or extensive issues.
By following the troubleshooting techniques outlined in this article and utilizing the right tools, you can confidently tackle a leaky faucet. Remember to troubleshoot the issue, identify the source of the leak, and follow the step-by-step guide for repair. Regular maintenance and proper usage will help prevent future leaks. Now it’s time to put your newfound faucet repair skills into practice and enjoy a leak-free environment!