Wooden furniture can bring warmth and beauty to any space, but unfortunately, scratches can appear over time. If you’re wondering how to repair those unsightly marks and restore your furniture’s original glory, you’ve come to the right place. In this article, we will guide you through the process of repairing scratches on wooden furniture, step by step. Let’s dive in!
Understanding the Basics of Wood Furniture Repair
Wood furniture is not only aesthetically pleasing but also durable and long-lasting. However, over time, scratches and marks may appear, detracting from its beauty. Fortunately, understanding the basics of wood furniture repair can help you restore its original charm and extend its lifespan.
Types of Wood Used in Furniture
Before delving into scratch repair, let’s take a moment to understand the different types of wood commonly used in furniture. Oak, cherry, maple, mahogany, and pine are just a few examples of the wide variety of woods used. Each type has unique characteristics, such as hardness and appearance, which will influence the repair process.
Oak, known for its strength and durability, is often used in the construction of antique furniture. Cherry, on the other hand, boasts a rich, reddish-brown hue that deepens over time. Maple, with its light color and smooth grain, is a popular choice for contemporary furniture. Mahogany, prized for its deep, reddish-brown color and fine grain, is commonly used in high-end furniture. Pine, a softer wood, is often utilized for its affordability and rustic charm.
Understanding the type of wood used in your furniture is essential as it will determine the appropriate repair techniques and materials to use.
Common Causes of Scratches on Wooden Furniture
Scratches on wooden furniture are an unfortunate reality of everyday life. They can be caused by various factors, including accidental bumps, scraping from objects, and general wear and tear. Recognizing the causes will help you prevent future scratches and protect your furniture.
Accidental bumps are a common cause of scratches, especially in high-traffic areas of your home. Whether it’s a careless elbow or a mischievous pet, these accidental collisions can leave unsightly marks on your furniture. Additionally, scraping from objects such as keys, pens, or even the bottom of a ceramic dish can leave deep scratches that require attention.
General wear and tear, although inevitable, can also contribute to the appearance of scratches on wooden furniture. Over time, the constant use of furniture can lead to small nicks and scratches, gradually diminishing its overall appeal.
By understanding the common causes of scratches, you can take proactive measures to protect your furniture. Using coasters, tablecloths, and protective pads can help minimize the risk of accidental bumps and scrapes. Regularly dusting and cleaning your furniture with appropriate products can also help maintain its appearance and reduce the likelihood of scratches caused by everyday use.
Now that we have explored the types of wood used in furniture and the common causes of scratches, we can delve further into the fascinating world of wood furniture repair. Stay tuned for the next installment, where we will discuss effective techniques to repair scratches and restore the beauty of your beloved wooden furniture.
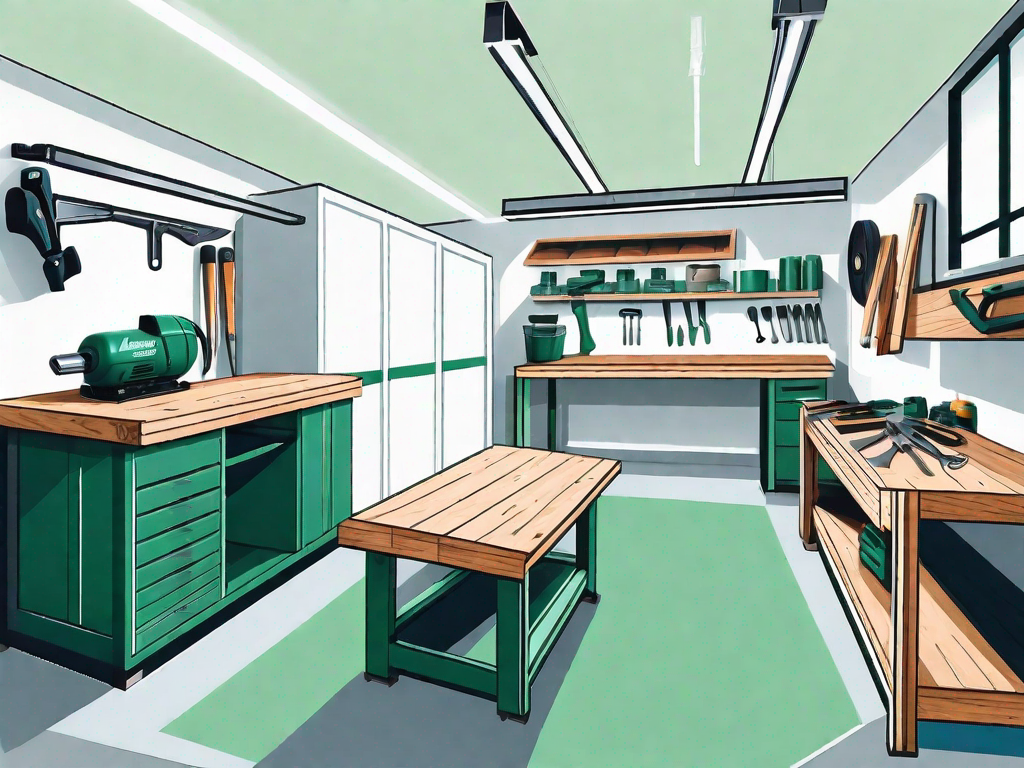
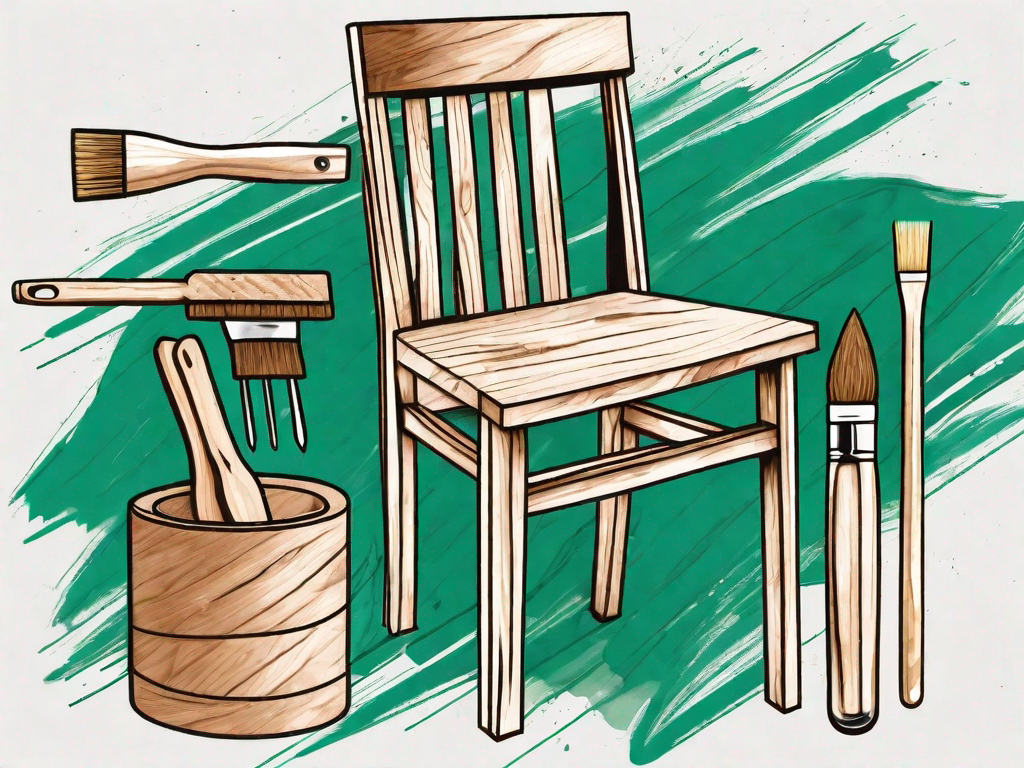
Tools and Materials Needed for Scratch Repair
Essential Tools for Repairing Scratches
Before getting started, gather some essential tools for the repair process. You’ll need fine-grit sandpaper, a soft cloth, wood filler, a putty knife or scraper, a marker or crayon that matches the wood color, and a clean, soft brush.
Choosing the Right Wood Filler
Selecting the right wood filler is crucial for achieving a seamless repair. There are various wood fillers available, such as latex-based and epoxy-based fillers. Consider the type of wood and its color when choosing a filler that will blend well and provide a durable solution.
Step-by-Step Guide to Repairing Scratches
Preparing the Furniture for Repair
Begin by cleaning the affected area with a mild wood cleaner or a mixture of warm water and gentle dish soap. Carefully remove any loose debris or dirt to ensure a smooth repair process. Dry the surface thoroughly before proceeding.
Applying the Wood Filler
Once the surface is clean and dry, apply the wood filler to the scratch. Use a putty knife or scraper to gently push the filler into the scratch, making sure to fill it completely. Remove any excess filler with the edge of the scraper, creating a level surface.
Sanding and Smoothing the Surface
After the wood filler has dried and hardened, use fine-grit sandpaper to smooth the repaired area. Sand lightly in the direction of the wood grain until the surface feels flush and uniform. Wipe away any dust with a clean, soft cloth.
Finishing Touches for a Seamless Repair
Matching the Wood Stain
To achieve a flawless finish, you’ll want to match the wood stain with the rest of the furniture. Apply a small amount of stain to an inconspicuous area to test the color match. If satisfied, use a clean brush to carefully apply the stain to the repaired area, blending it in with the surrounding wood.
Applying the Finish
Once the stain has dried, it’s time to apply a protective finish to your repaired wooden furniture. Choose a finish that matches the existing finish, such as varnish or polyurethane. Apply the finish in smooth, even strokes, following the manufacturer’s instructions. Allow it to dry completely before using the furniture.
Maintaining Your Wooden Furniture Post-Repair
Regular Cleaning and Care Tips
Now that your wooden furniture is beautifully restored, it’s essential to maintain its appearance and prevent future scratches. Regularly dust the furniture using a soft cloth and avoid using harsh cleaners that can damage the wood. Additionally, use coasters and protective pads to prevent scratches caused by hot items or rough objects.
Preventing Future Scratches
Prevention is key to keeping your wooden furniture scratch-free. Place felt pads under items that come in direct contact with the wood, such as vases or lamps. Use tablecloths or mats to protect the surface from spills and accidental scratches. By taking these simple measures, you can keep your furniture looking its best for years to come.
With this comprehensive guide, you are now equipped with the knowledge and tools to repair scratches on your wooden furniture. Remember to approach each step with care and patience, and before you know it, those frustrating scratches will be a thing of the past. Enjoy the process and take pride in rejuvenating your beloved furniture!