Replacing a broken electrical outlet may seem like a daunting task, but with a little knowledge and the right tools, you can handle it safely and efficiently. In this article, we will guide you through the process step by step, ensuring that you understand the basics of electrical outlets, how to identify a broken outlet, the tools you’ll need, and troubleshooting common issues that may arise.
Understanding the Basics of Electrical Outlets
Before diving into replacing a broken electrical outlet, it’s essential to understand how they work and the different types that exist. This knowledge will help you make informed decisions throughout the replacement process.
Electrical outlets play a crucial role in our daily lives, providing the power needed to operate various appliances and electronic devices. Without them, we would be left in the dark, unable to charge our phones, watch TV, or use our kitchen appliances.
Now, let’s delve deeper into the world of electrical outlets and explore the different types that you may encounter.
Types of Electrical Outlets
There are several types of electrical outlets commonly used in residential settings. Each type serves a specific purpose and has its own unique features. Understanding these outlet types will help you determine which one you need to replace.
- The Traditional Two-Pronged Outlet: This is the classic outlet that you often find in older homes. It has two vertical slots and does not have a grounding wire. While it may still be functional, it is not as safe as the newer three-pronged outlets.
- The Three-Pronged Grounded Outlet: This is the most common type of outlet found in modern homes. It has three slots – two vertical slots for the hot and neutral wires and a round hole for the grounding wire. The grounding wire provides an extra layer of protection against electrical shocks and is essential for the safe operation of certain appliances.
- GFCI Outlets for Areas Prone to Water Exposure: GFCI stands for Ground Fault Circuit Interrupter. These outlets are designed for use in areas where water is present, such as bathrooms, kitchens, and outdoor spaces. They have a built-in sensor that quickly detects any imbalances in the electrical current and shuts off the power to prevent electric shock.
- AFCI Outlets for Added Fire Protection: AFCI stands for Arc Fault Circuit Interrupter. These outlets are primarily used to prevent electrical fires caused by arcing faults. Arcing faults occur when there is a loose or damaged wire connection, which can lead to sparks and overheating. AFCI outlets detect these dangerous conditions and cut off the power before a fire can start.
Familiarize yourself with these outlet types to understand which one you need to replace. It’s important to choose the right outlet to ensure the safety and functionality of your electrical system.
How Electrical Outlets Work
Now that we have explored the different types of electrical outlets, let’s take a closer look at how they actually work.
Electrical outlets are where appliances and electronic devices connect to a building’s electrical system. They serve as the interface between the power source and the devices we use every day. Without outlets, we would have no way to access the electricity that powers our lives.
An electrical outlet consists of three main components: the hot wire, the neutral wire, and, in grounded outlets, a grounding wire. These wires work together to ensure the safe and efficient flow of electricity.
The hot wire, usually colored black, carries electrical current from the power source to the outlet. It is the wire that delivers the energy needed to power our devices. The neutral wire, typically colored white, completes the electrical circuit by carrying the current back to the power source.
In grounded outlets, there is an additional wire known as the grounding wire. This wire, often colored green or bare copper, provides an extra layer of safety. In the event of a fault or short circuit, the grounding wire redirects excess electrical current to the ground, preventing electrical shocks and potential fires.
By understanding how electrical outlets work and the purpose of each wire, you can ensure that your electrical system is properly installed and functioning safely.
Identifying a Broken Electrical Outlet
If you suspect that you have a broken outlet, it’s essential to identify it correctly before attempting any repairs. Knowing the signs of a broken outlet and taking appropriate safety precautions will help you complete the replacement process smoothly.
Common Signs of a Broken Outlet
There are a few common signs that can indicate a broken electrical outlet:
- No power output when plugging in devices
- Sparks or smoke when an appliance is connected
- Loose or damaged outlets
- Frequent tripping of circuit breakers or blowing of fuses
If you notice any of these signs, it’s crucial to address them promptly to ensure your safety and prevent further damage.
Safety Precautions When Dealing with Broken Outlets
Before replacing a broken outlet, it’s essential to take the necessary safety precautions to protect yourself and the electrical system. Follow these guidelines:
- Ensure that the power to the outlet is turned off at the circuit breaker or fuse box.
- Use a non-contact voltage tester to confirm that no electrical current is present.
- Wear personal protective equipment, such as gloves and safety glasses, to prevent injury.
- Be cautious when working with electrical components.
By following these safety measures, you can significantly reduce the risk of electrical accidents and injuries.
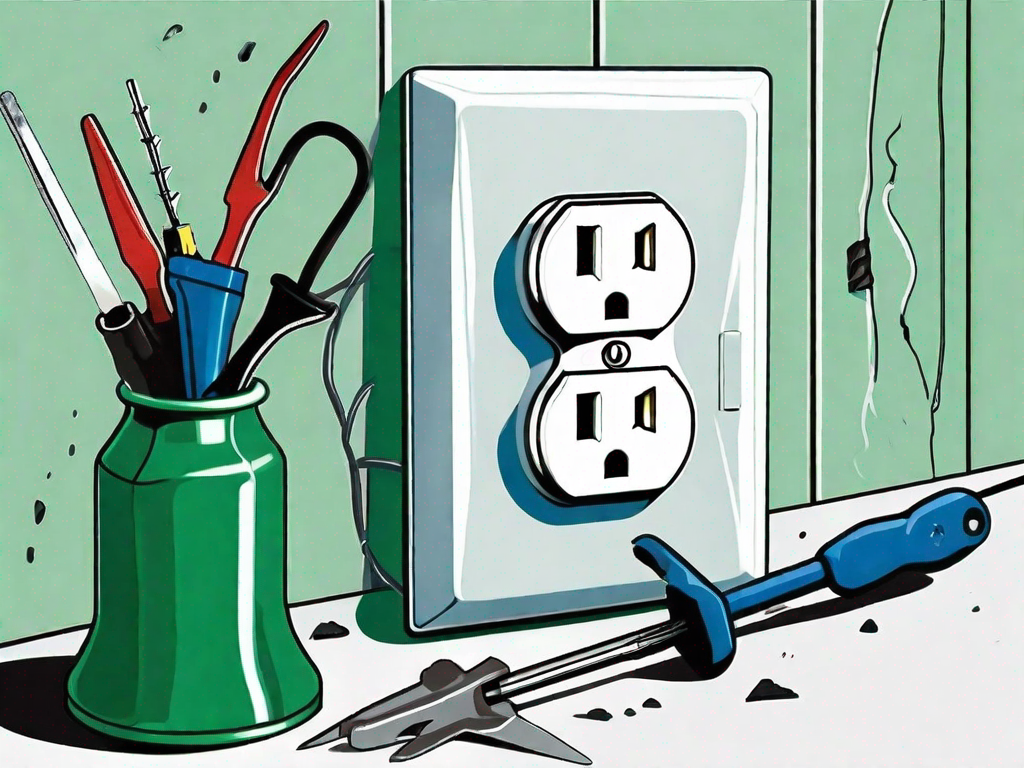
Tools Needed for Outlet Replacement
Having the right tools for the job is essential when replacing a broken electrical outlet. Here are the tools you’ll need:
Essential Electrical Tools
To successfully replace an electrical outlet, the following tools are necessary:
- Screwdriver (Phillips and flathead)
- Wire strippers
- Needle-nose pliers
- Wire cutters
- Voltage tester
Having these tools readily available will make the replacement process much smoother.
Safety Equipment for Electrical Work
In addition to the essential electrical tools, it’s crucial to have appropriate safety equipment on hand, including:
- Gloves
- Safety glasses
- Face mask
Wearing the proper safety equipment will help minimize the risk of injury when working with electrical components.
Step-by-Step Guide to Replacing an Electrical Outlet
Removing the Old Outlet
Follow these steps to safely remove the old, broken electrical outlet:
- Turn off the power to the outlet at the circuit breaker/fuse box.
- Use a voltage tester to ensure that no electrical current is present.
- Remove the cover plate by unscrewing the screws.
- Unscrew the outlet from the electrical box and pull it out gently.
- Detach the wires from the old outlet by removing the screws or wire connectors.
With the old outlet safely removed, you’re now ready to install the new one.
Installing the New Outlet
Follow these steps to install the new electrical outlet:
- Attach the wires to the new outlet, matching the colors (black to hot, white to neutral, and green/bare copper to the grounding screw).
- Secure the wires by tightening the terminal screws or using wire connectors.
- Position the outlet in the electrical box and secure it using the provided screws.
- Replace the cover plate and secure it with screws.
With the new outlet securely installed, it’s time to restore power and test it.
Troubleshooting Outlet Replacement Issues
What to Do If the New Outlet Doesn’t Work
If the new outlet doesn’t work, don’t panic. Follow these troubleshooting steps:
- Double-check that the power to the outlet is turned on at the circuit breaker/fuse box.
- Verify that the wires are securely connected to the new outlet.
- Use a voltage tester to confirm that the outlet is receiving power.
- Contact a qualified electrician if the issue persists or if you’re unsure how to proceed.
Remember, safety should always be your top priority when dealing with electrical systems.
Handling Unexpected Wiring Issues
During the outlet replacement process, you may encounter unexpected wiring issues. If you’re uncertain how to address them, it’s best to seek professional assistance. An electrician can help resolve any complex wiring problems and ensure that the replacement is done correctly.
By following this comprehensive guide, you now have the knowledge to successfully replace a broken electrical outlet. Remember, if you’re uncomfortable with any aspect of the process or encounter unexpected complications, it’s always best to seek help from a qualified electrician. Stay safe and confident as you maintain the electrical systems in your home!