Accidents happen, and sometimes our precious smartphones end up with a broken screen. It can be frustrating and costly to get it fixed at a repair shop, but did you know that you can replace the broken phone screen at home? In this guide, we will walk you through the process step-by-step, ensuring that you have all the information you need to successfully replace your phone screen.
Understanding the Basics of Phone Screen Replacement
Before diving into the actual replacement process, it’s essential to familiarize yourself with the basics of phone screen replacement. This knowledge will empower you to make informed decisions and avoid any potential mishaps along the way.
Phone screen replacement has become a common DIY repair task for many smartphone owners. With the increasing use of smartphones in our daily lives, accidents happen, and screens can get cracked or damaged. Instead of rushing to a repair shop and spending a significant amount of money, learning how to replace a phone screen yourself can save you time and money.
However, it’s important to note that phone screen replacement requires careful attention to detail and patience. It’s not a task that should be rushed, as any mistakes can lead to further damage to your phone.
Identifying the Type of Phone Screen Damage
The first step in the screen replacement process is to assess the extent of the damage. Is your screen cracked, shattered, or completely unresponsive? Identifying the type of damage will help you determine the appropriate steps and materials needed for the replacement.
A cracked screen is one of the most common types of damage. It occurs when the glass on the front of the phone cracks but remains intact. Shattered screens, on the other hand, have multiple cracks and may have pieces of glass missing. A completely unresponsive screen means that it doesn’t display anything or respond to touch.
Understanding the type of damage will help you decide whether you need to replace just the glass, the entire screen assembly, or if there are any underlying issues that need to be addressed.
Gathering Necessary Tools for Screen Replacement
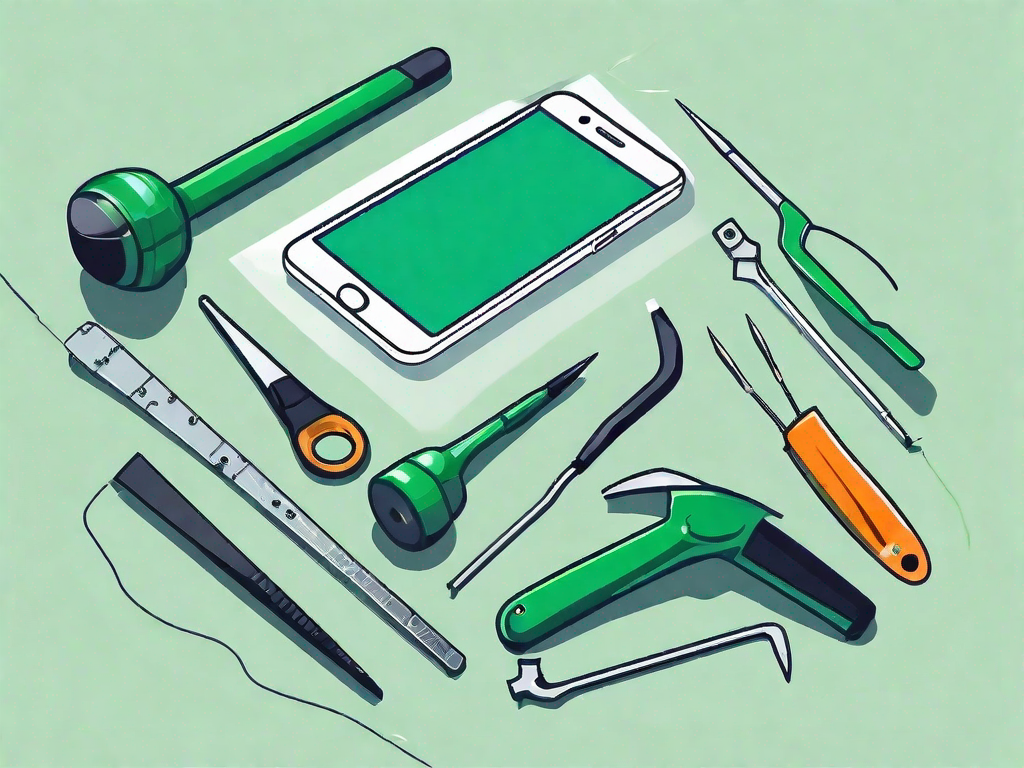
Once you’ve identified the type of screen damage, it’s time to gather the necessary tools for the replacement. Some common tools include a screwdriver, tweezers, a plastic spudger, a suction cup, and replacement adhesive. These tools may vary depending on your phone model, so make sure to consult your phone’s user manual or do some research to ensure you have everything you need.
Having the right tools is crucial for a successful screen replacement. The screwdriver is used to remove screws that hold the phone’s back cover or screen assembly in place. Tweezers help in handling small components and connectors. A plastic spudger is a handy tool for prying open the phone’s casing without causing any damage. The suction cup is used to lift the screen off the phone’s body, and replacement adhesive ensures a secure attachment of the new screen.
It’s worth mentioning that some phone models may require additional tools or specialized equipment, such as heat guns or precision screwdrivers. Therefore, it’s essential to research your specific phone model and its repair requirements before starting the screen replacement process.
Preparing Your Workspace
Now that you have the tools ready, it’s crucial to prepare your workspace before diving into the actual replacement process. This will help keep everything organized and minimize the chances of misplacing any small parts.
Safety Measures to Consider
Prioritize safety by ensuring you’re working in a well-lit area with good ventilation. It’s also a good idea to work on a clean and clutter-free surface to prevent any accidents or damage to your phone.
Organizing Your Tools and Replacement Parts
Before starting the replacement, organize your tools and replacement parts in a systematic manner. It’s helpful to have a designated space for each tool and part, making it easier for you to locate and use them when needed.
Step-by-Step Guide to Removing the Broken Screen
Now that you’ve prepared your workspace and are ready to begin, let’s start by removing the broken screen from your phone. This process may vary slightly depending on your phone model, so consult your user manual for any specific instructions.
Turning Off Your Phone
Before tampering with your phone’s screen, it’s crucial to turn it off to avoid any electrical issues or accidental button presses. This will also ensure that you can safely remove the battery later on, if necessary.
Removing the Phone Case and Battery
If your phone has a protective case, remove it first. This will give you direct access to the screen. Next, remove the battery carefully, following your phone’s user manual for specific instructions. Removing the battery is not applicable to all phone models.
Detaching the Broken Screen
Once the battery is removed, inspect your phone carefully. You’ll notice that the broken screen is held in place by screws or adhesive. Use the appropriate tool to detach the broken screen from your phone. If your screen is shattered, be extra cautious to avoid any accidental cuts.
Installing the New Phone Screen
Now that you’ve successfully removed the broken screen, it’s time to install the new one. Ensure you have the replacement screen ready, as well as any additional adhesive or connectors that may be required.
Preparing the New Screen
Inspect the replacement screen and ensure it is free from any defects or damage. Familiarize yourself with its orientation and any specific instructions provided by the manufacturer. If required, apply adhesive or connectors to the new screen as per the instructions provided.
Attaching the New Screen
Once you’ve prepared the new screen, carefully align it with the phone’s body. Gently press it into place, ensuring a snug fit. If screws were used to secure the original screen, reattach them as instructed by your phone’s user manual. Be careful not to overtighten the screws, as it could damage the screen.
Post-Replacement Steps
Congratulations! You’ve successfully installed the new screen. However, there are a few important post-replacement steps to ensure everything is functioning correctly.
Reassembling Your Phone
If you removed the battery or any other components, it’s time to put them back in place. Carefully reassemble your phone, following the reverse order of the steps you took during the removal process. Take your time to ensure everything fits snugly.
Testing the New Screen
Once your phone is fully reassembled, it’s time to test the new screen. Power on your phone and check for any display issues or abnormalities. Test the touch functionality across various areas of the screen to ensure everything is working as expected.
Replacing a broken phone screen at home may seem overwhelming at first, but with the right tools and instructions, it can be a rewarding and cost-effective experience. Remember to take your time, work in a calculated manner, and prioritize safety throughout the process. And if you ever feel unsure about any step, don’t hesitate to seek professional help to avoid any potential damage to your phone.