Replacing a light switch may seem like a daunting task, but with a basic understanding of electrical wiring and the right tools, it’s a task that you can easily tackle yourself. In this guide, we will take you through the step-by-step process of replacing a light switch in your home. We’ll also discuss the different types of light switches you may encounter and offer troubleshooting tips for common problems. So let’s get started and empower you to become a DIY electrical expert!
Understanding the Basics of Electrical Wiring
Before we dive into the specifics of replacing a light switch, it’s important to have a basic understanding of electrical wiring. Electrical wiring carries electric current from the power source to various electrical devices in your home, such as light fixtures, outlets, and switches.
When it comes to light switches, their primary role is to control the flow of electricity to your lighting fixtures. When you flip a switch, it completes or interrupts the electrical circuit, allowing the light to turn on or off.
The Role of a Light Switch in Your Home’s Electrical System
Light switches are an integral part of your home’s electrical system. They provide a convenient way to control the lighting in different areas of your home, from bedrooms to living rooms and beyond. Without light switches, you would have to rely on plugging and unplugging lamps to illuminate your space.
Light switches are typically installed near the entrance to a room or in convenient locations where you can easily reach them. They use a simple mechanism inside to control the flow of electricity to the light fixture, allowing you to effortlessly control the lighting in your home.
Safety Precautions When Working with Electricity
Working with electricity can be hazardous if proper precautions are not taken. Before you start replacing a light switch, it’s essential to prioritize your safety. Here are a few safety precautions to keep in mind:
- Turn off the power: Before working on any electrical component, always turn off the power at the main circuit breaker.
- Use insulated tools: When working with electrical wiring, make sure to use tools with insulated handles to prevent electric shock.
- Wear protective gear: To protect your eyes and hands, consider wearing safety glasses and insulated gloves.
- Double-check the power: Always use a non-contact voltage tester to verify that the power is off before you start working on any electrical component.
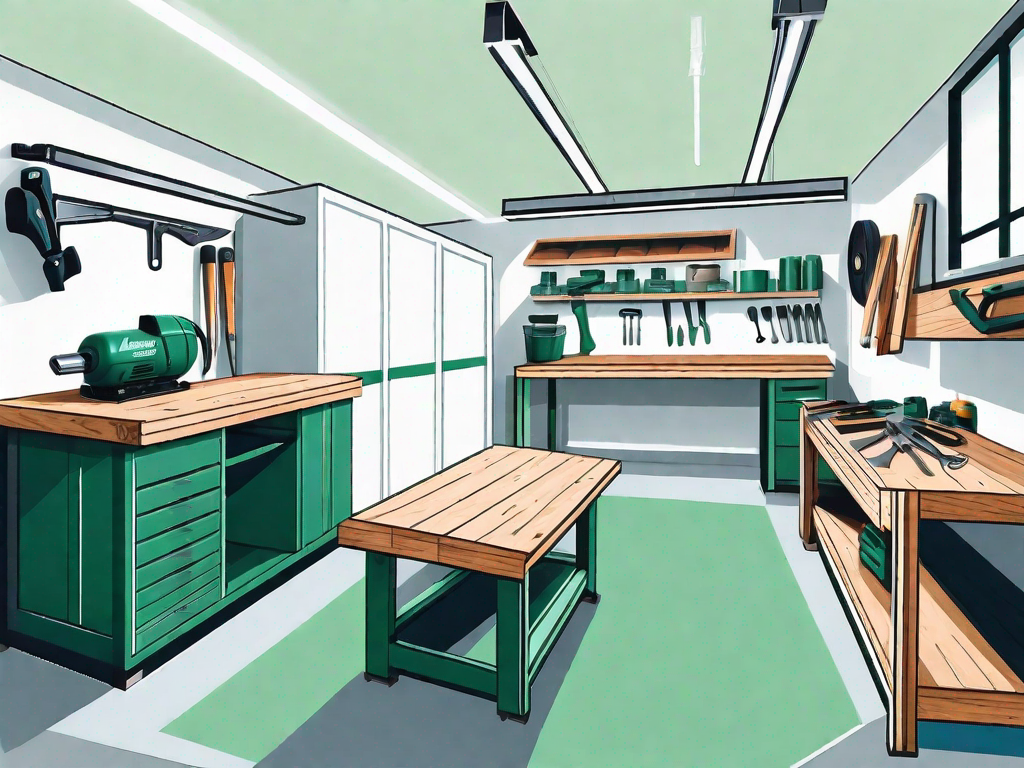
Tools Needed for Light Switch Replacement
To replace a light switch, you’ll need a few essential tools. Here’s a list of tools that you should have on hand:
Essential Electrical Tools
- Screwdriver set: A set of screwdrivers will come in handy for loosening and tightening screws.
- Wire stripper: This tool helps you strip the insulation off the ends of electrical wires.
- Wire cutter: A wire cutter allows you to cut electrical wires to the desired length.
- Wire nuts: These twist-on connectors are used to secure the ends of electrical wires together.
- Voltage tester: A non-contact voltage tester allows you to quickly check if a wire is live without direct contact.
Additional Helpful Tools for Light Switch Replacement
- Flashlight: A flashlight can help you see in dimly lit areas, making it easier to work on a light switch.
- Electrical tape: Electrical tape is used to insulate exposed wires and prevent electrical shorts.
- Pliers: Pliers can be useful for bending and twisting wires.
Identifying Different Types of Light Switches
Before you replace a light switch, it’s important to familiarize yourself with the different types of switches you may encounter. Here are the three most common types:
Single-Pole Switches
Single-pole switches are the most basic type of light switches. They have two screw terminals and are used to control the power to a single light fixture from one location.
Three-Way Switches
Three-way switches are commonly used in stairways, hallways, and large rooms where you need to control a light fixture from two different locations. They have three screw terminals and allow you to turn the light on or off from either switch.
Dimmer Switches
Dimmer switches give you the ability to adjust the brightness of a light fixture. They typically have a dial or slide mechanism that allows you to control the level of light in a room. Dimmer switches can be either single-pole or three-way.
Step-by-Step Guide to Replacing a Light Switch
Now that you have a good understanding of the basics, let’s walk through the step-by-step process of replacing a light switch:
Turning Off the Power
Before you start replacing a light switch, it’s crucial to turn off the power to the circuit at the main circuit breaker. This will ensure your safety while working on the switch.
Locate the circuit breaker that controls the power to the switch you’ll be replacing. Flip the switch to the “off” position to cut off the power to that circuit.
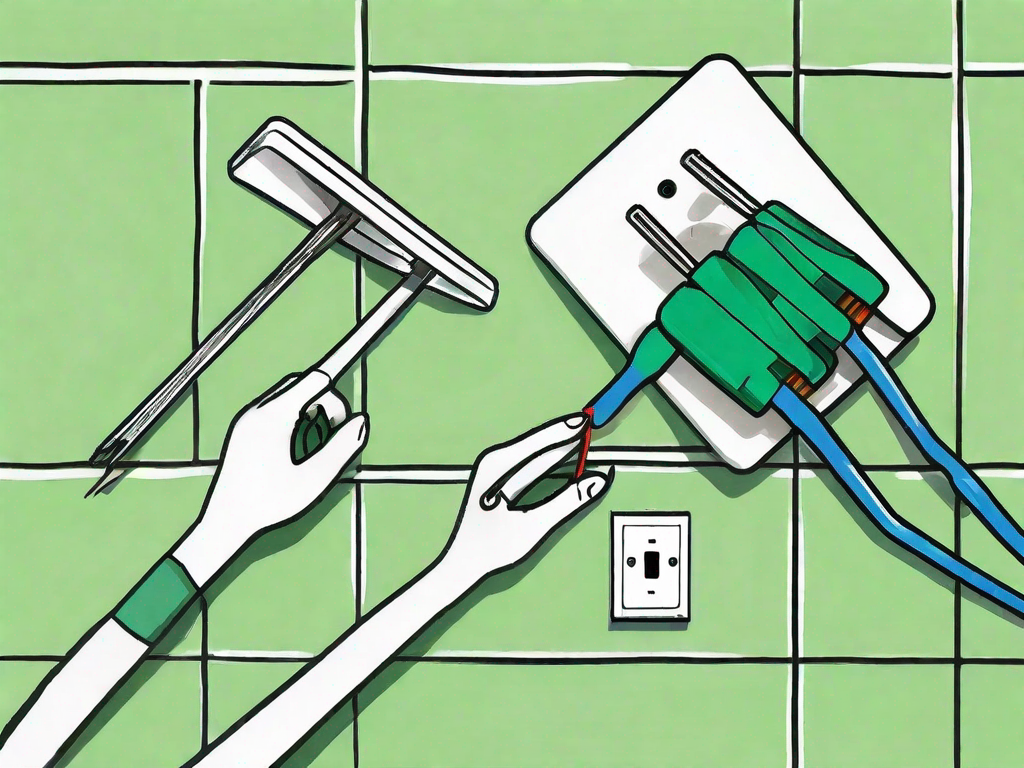
Removing the Old Light Switch
Once the power is off, you can proceed to remove the old light switch. Start by unscrewing the switch plate cover and removing it from the wall. This will expose the switch itself.
Next, use a screwdriver to loosen the screws holding the switch in place. Once the screws are loose, gently pull the switch out of the wall, being mindful of the wires connected to it.
Note the configuration of the wires connected to the switch. Take a picture or make a diagram to ensure you reconnect the wires correctly.
Installing the New Light Switch
With the old switch removed, it’s time to install the new one. Start by disconnecting the wires from the old switch, making sure to remember their positions.
Next, connect the wires to the corresponding terminals on the new switch. Typically, you’ll have a black “hot” wire connected to the brass or dark-colored screw terminal and a white neutral wire connected to the silver or light-colored screw terminal.
Tuck the wires neatly into the electrical box and secure the new switch to the wall using the screws provided. Make sure the switch is aligned properly with the switch plate cover.
Troubleshooting Common Light Switch Problems
Light Switch Doesn’t Turn On or Off
If your light switch doesn’t turn on or off, there may be a few potential causes. First, check to ensure that the circuit breaker is not tripped. If the breaker is fine, the problem may be with the switch itself.
To troubleshoot the switch, start by turning off the power to the circuit. Remove the switch plate cover and inspect the connections. Loose or damaged wires could be causing the issue.
If the connections appear secure, the switch may be faulty and require replacement. Remember to follow the steps outlined earlier to safely replace the switch.
Light Switch Makes a Buzzing Sound
A buzzing sound coming from a light switch can be a sign of a loose connection or a faulty switch. It’s important to address this issue promptly to prevent any potential fire hazards.
First, turn off the power to the circuit and remove the switch plate cover. Inspect the connections and tighten any loose screws. If the sound persists, it’s advisable to replace the switch with a new one.
With this basic electrical guide, you now have the knowledge and confidence to replace a light switch. Remember to prioritize your safety, understand the different types of switches, and use the proper tools for the job. By taking these precautions and following the step-by-step instructions, you can successfully complete this DIY electrical project and brighten up your home with a new light switch.